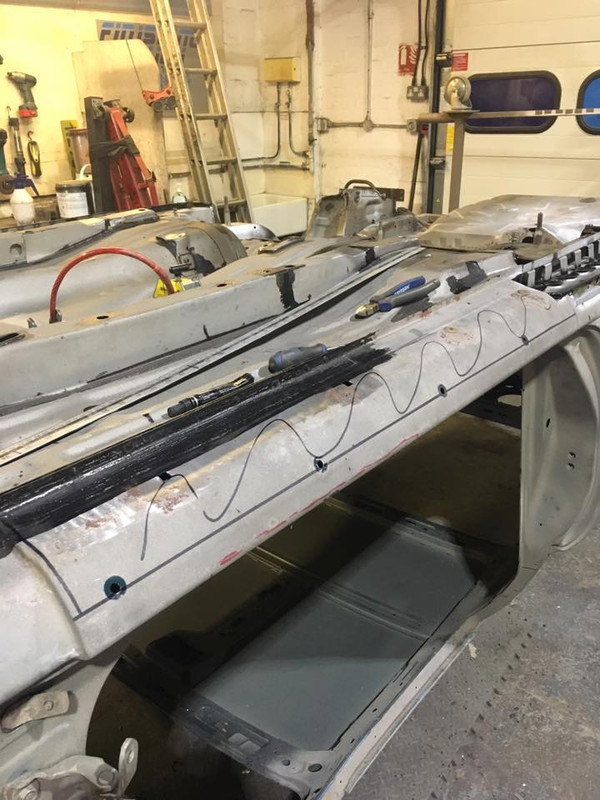
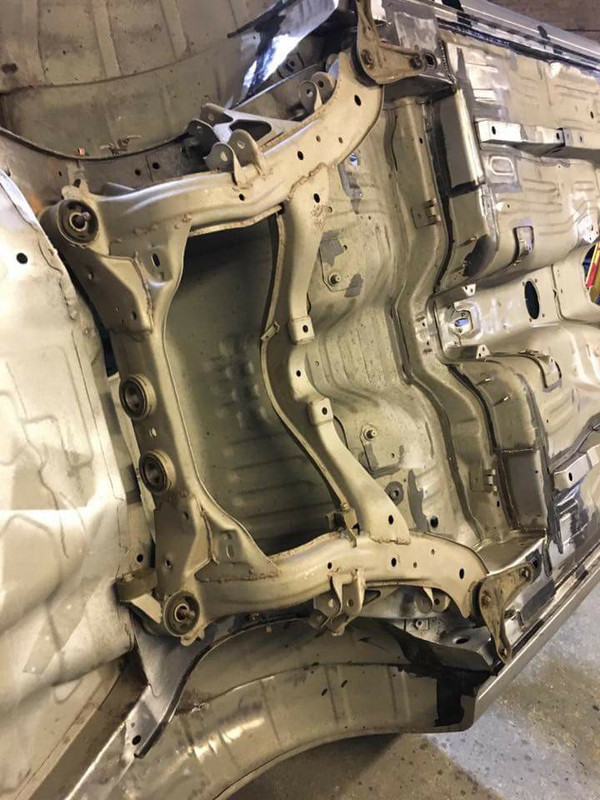
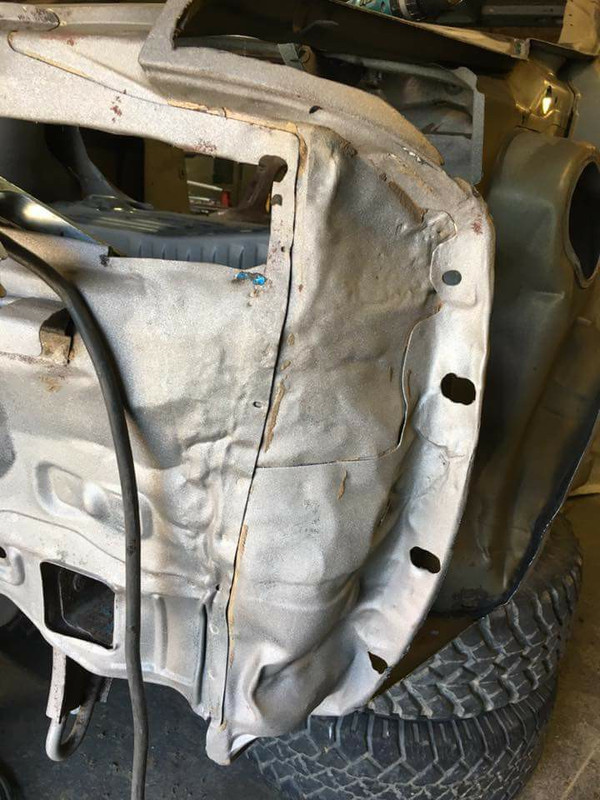
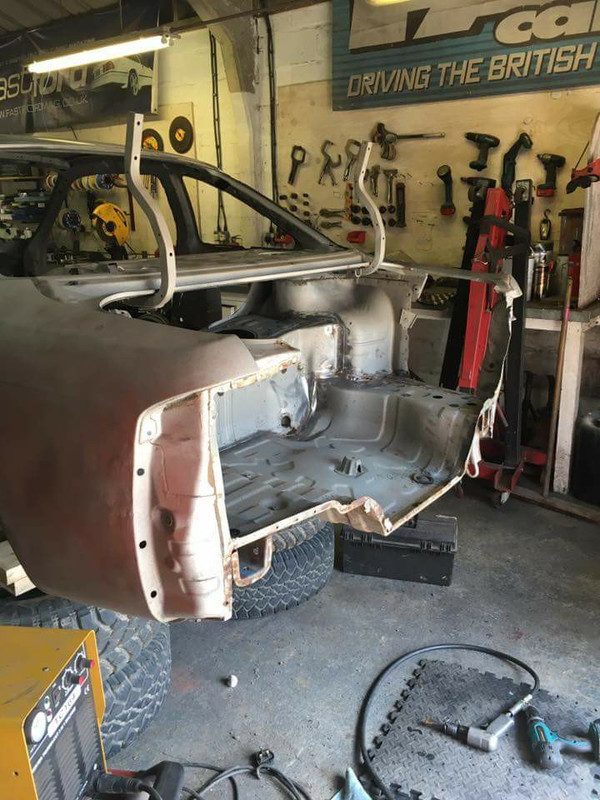
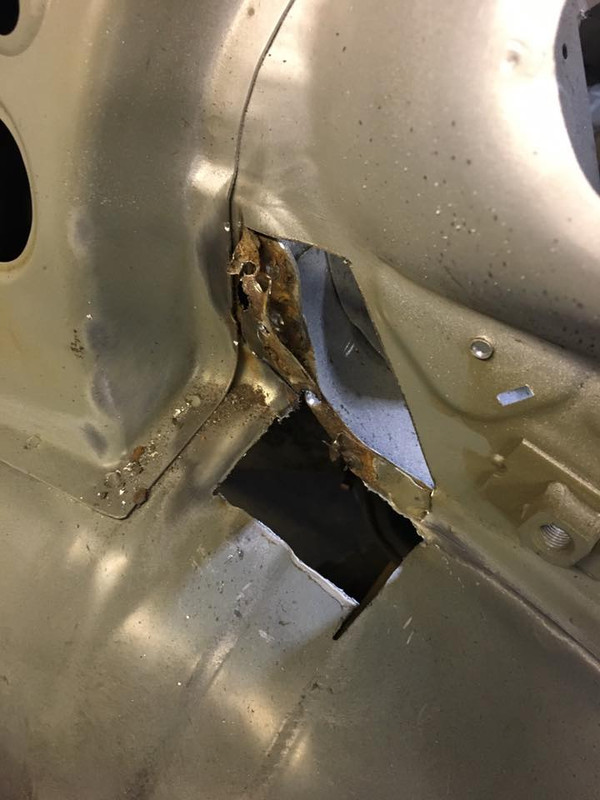
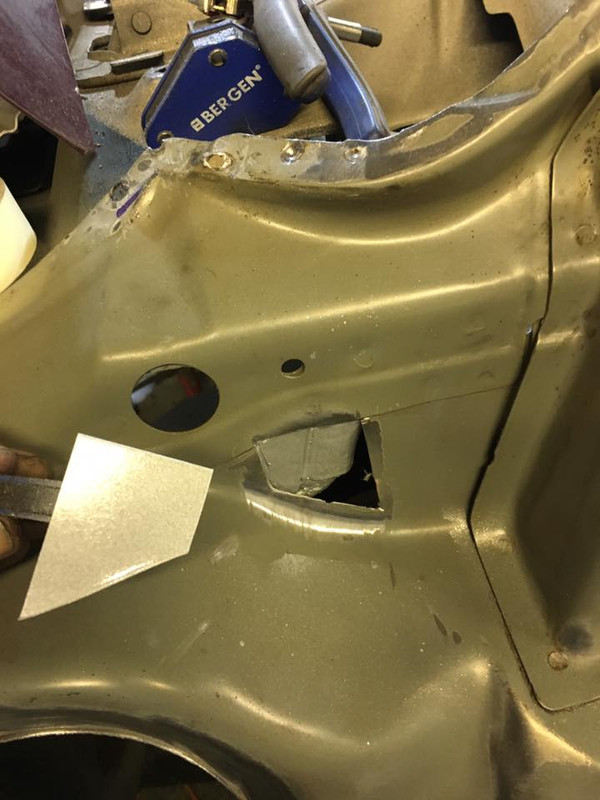
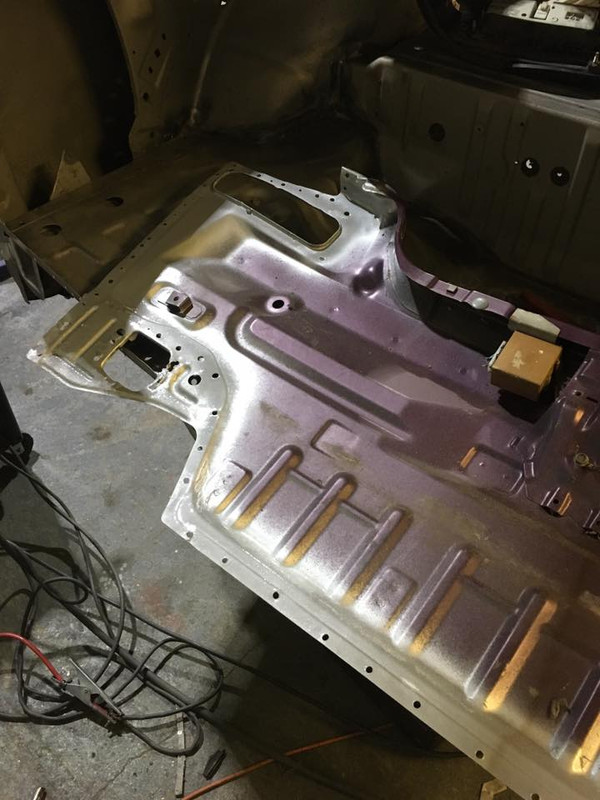
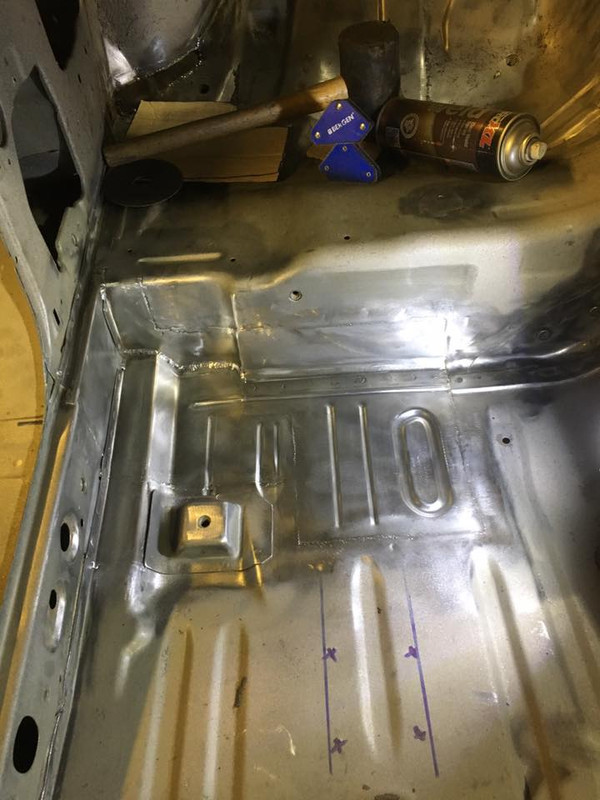
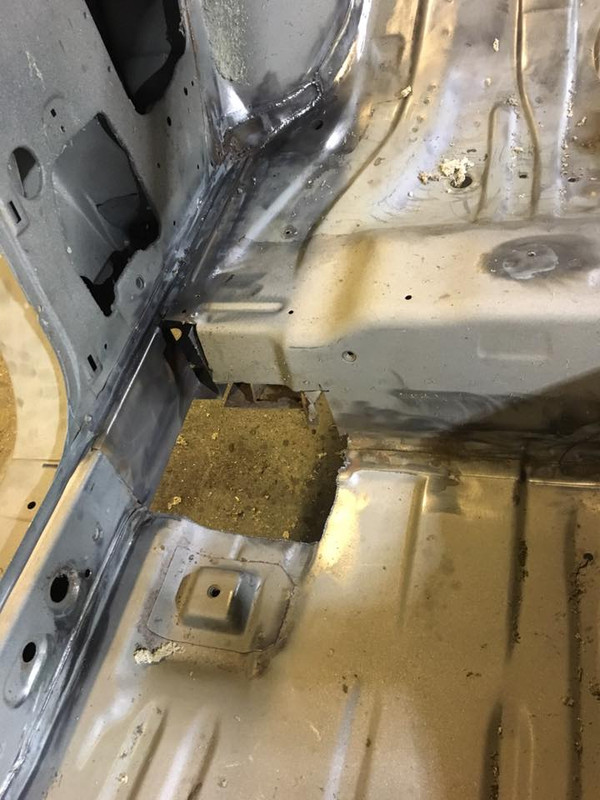
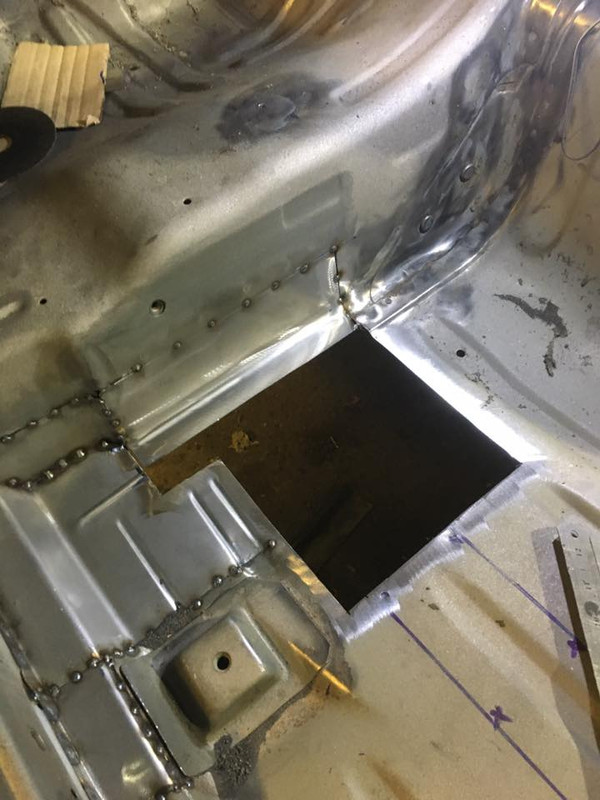
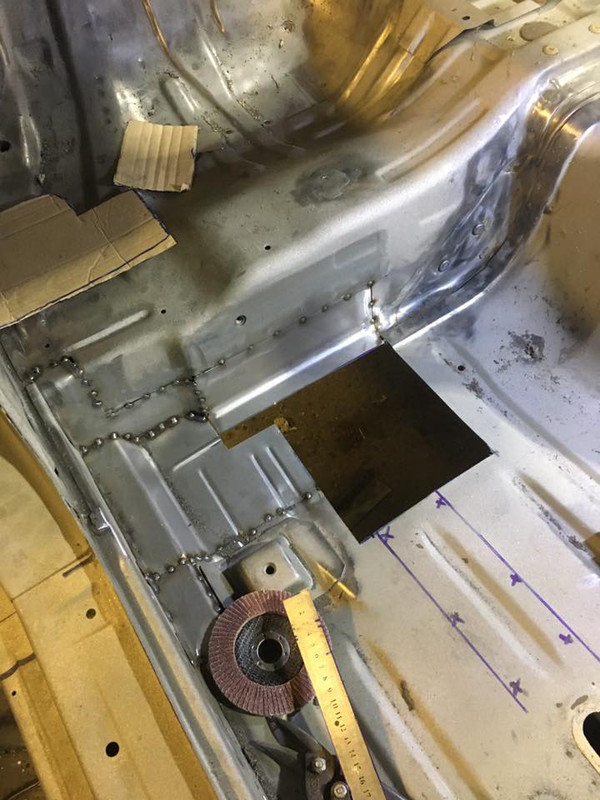
Following on from the above, is the rear drivers footwell. Alot of this has been cut out as Steve has said the metal is very thin and fatigued

Following on from the above, is the rear drivers footwell. Alot of this has been cut out as Steve has said the metal is very thin and fatigued
Last edited by LukeShepp; 16-04-2018 at 17:58.
Wow
1998 Nissan 200sx s14a , 2000 std 5 speed with nismo supercoppermix clutch bn6 Sapphire Blue
Very impressive work
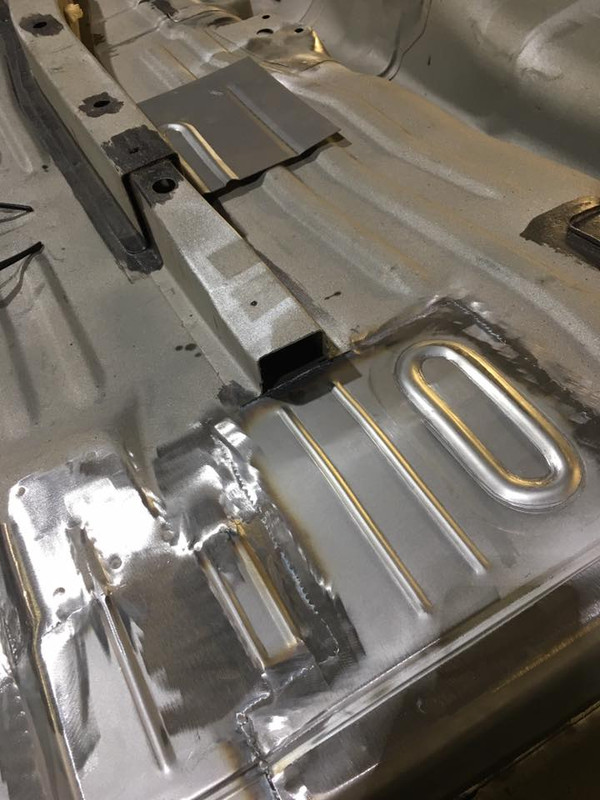
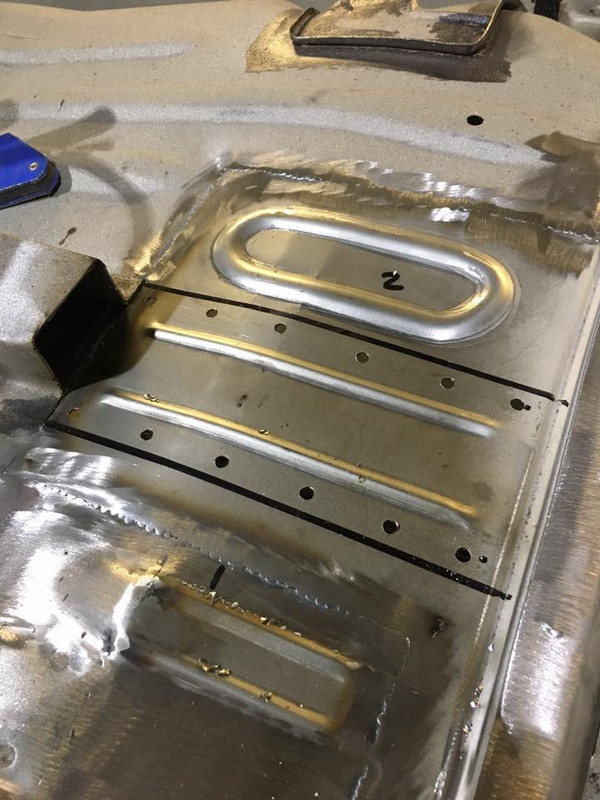
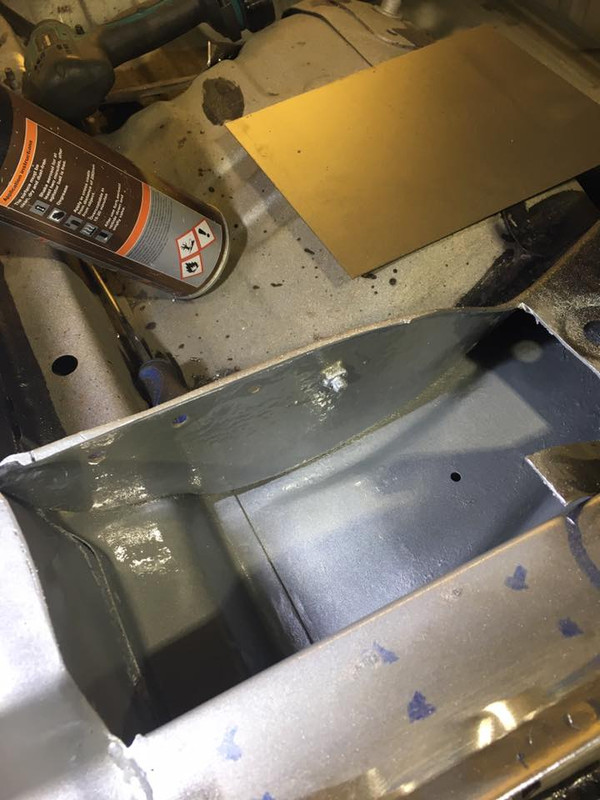
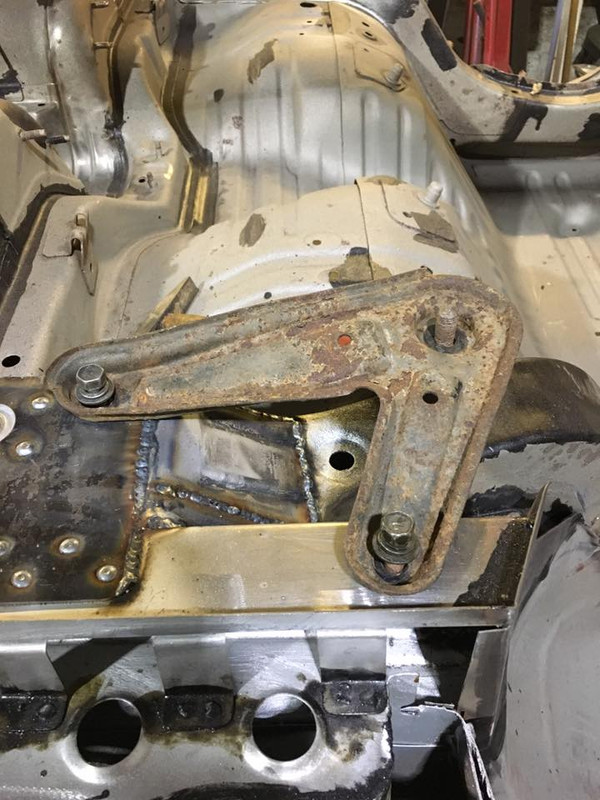
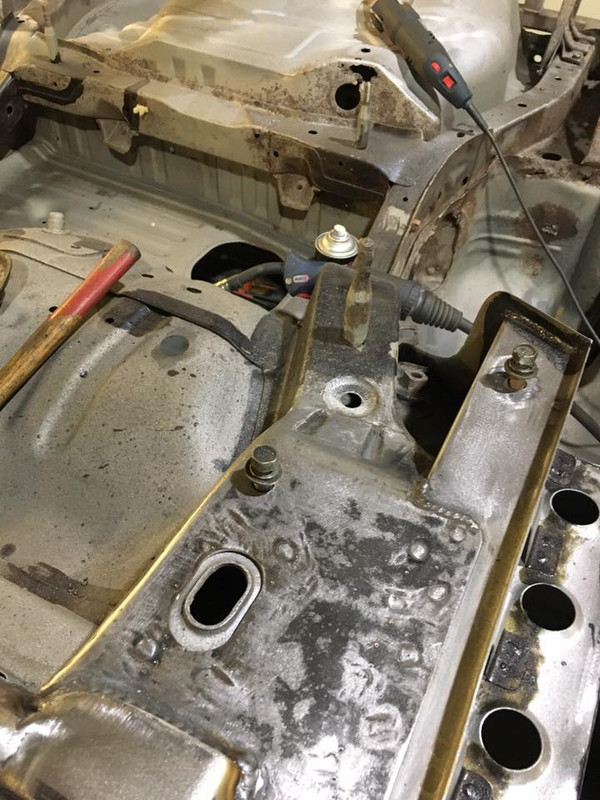
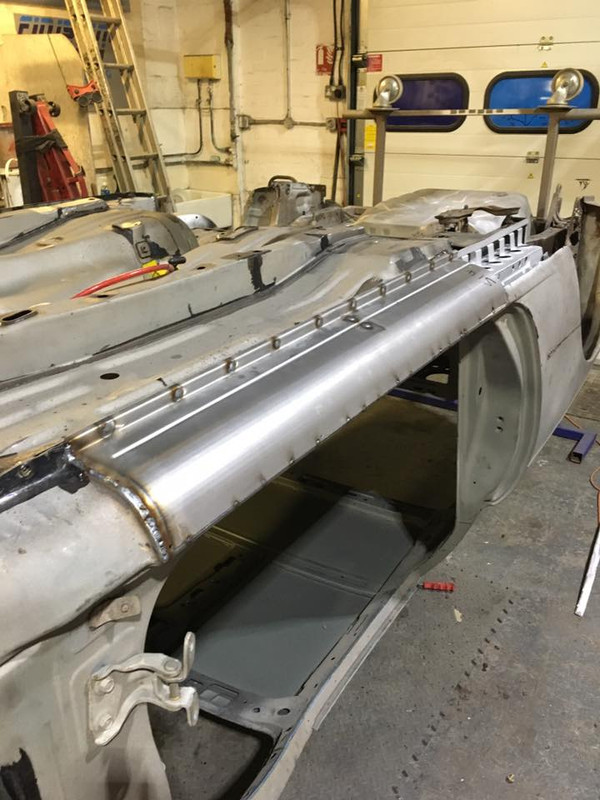
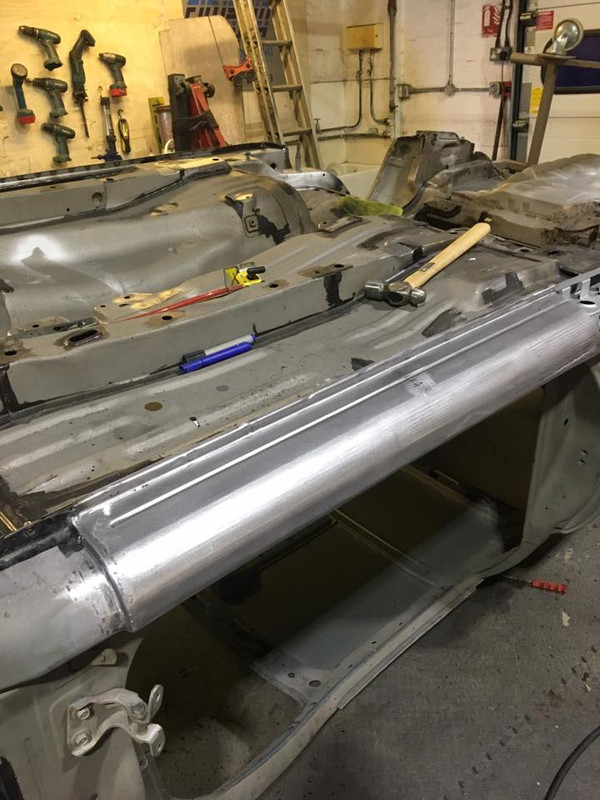
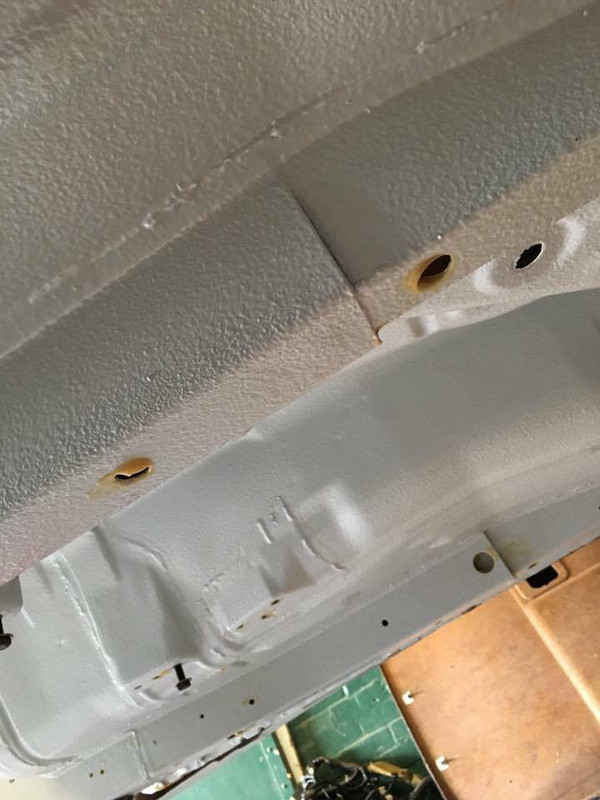
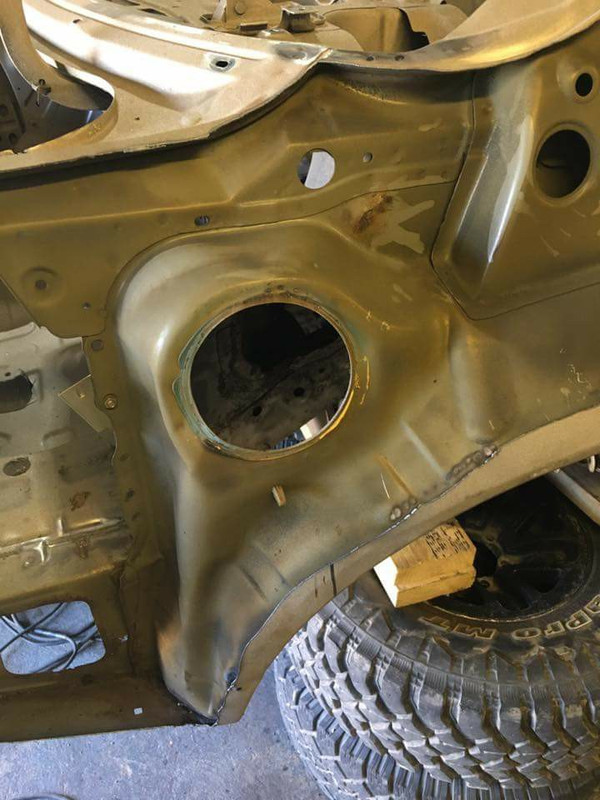
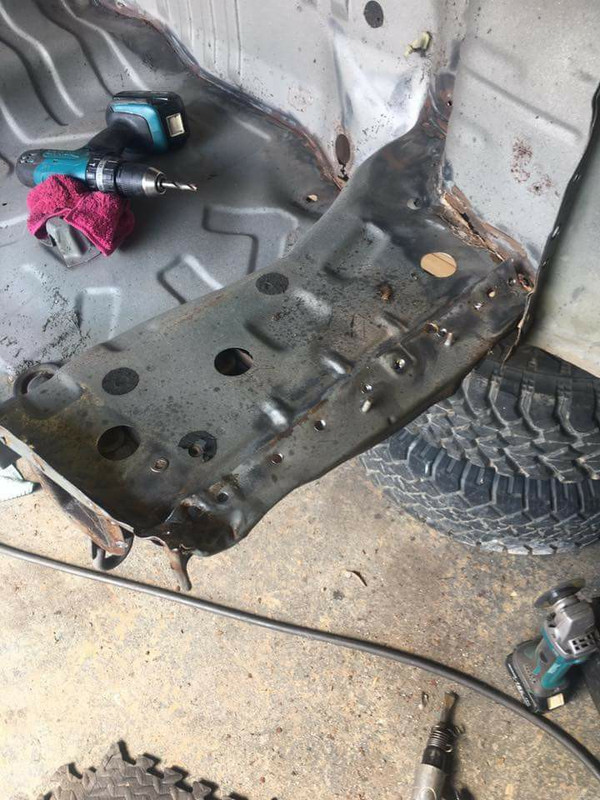
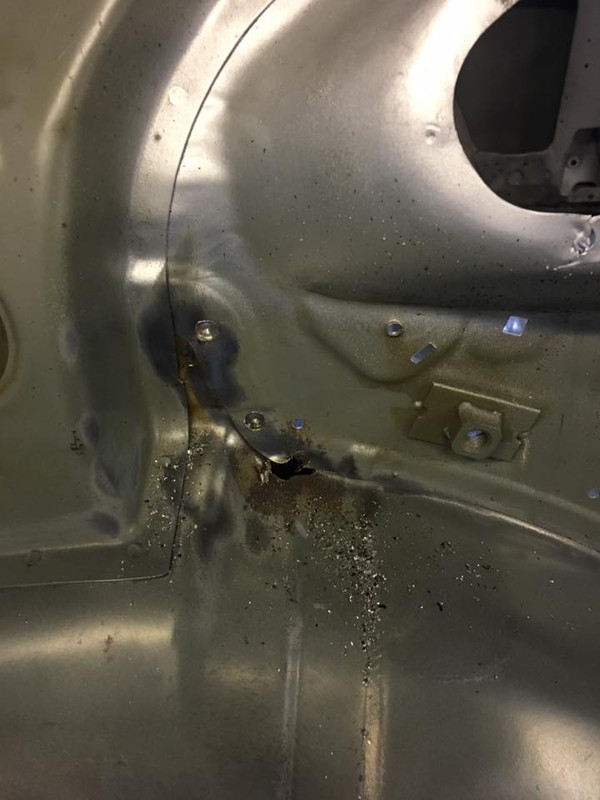
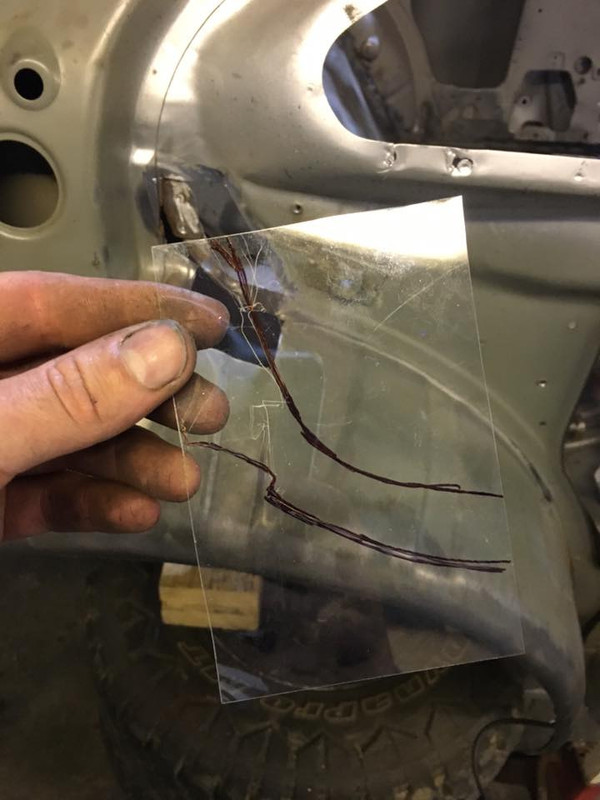
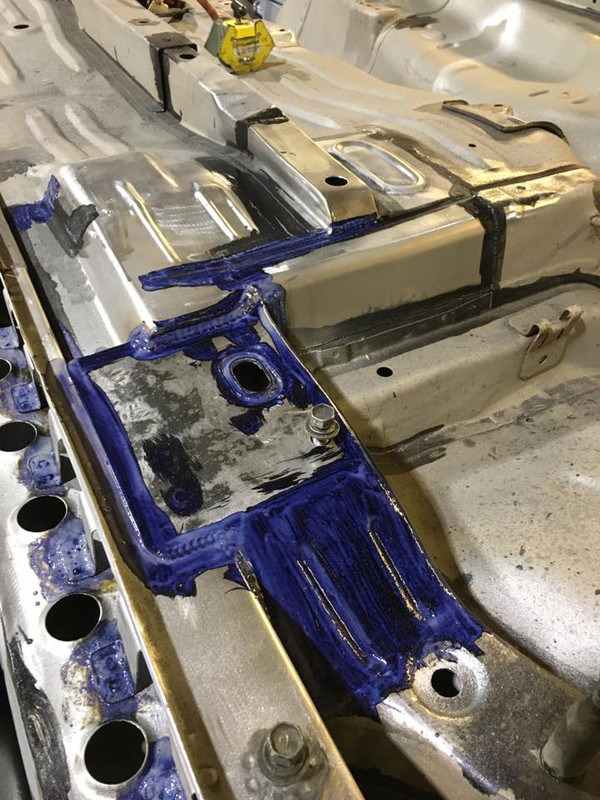
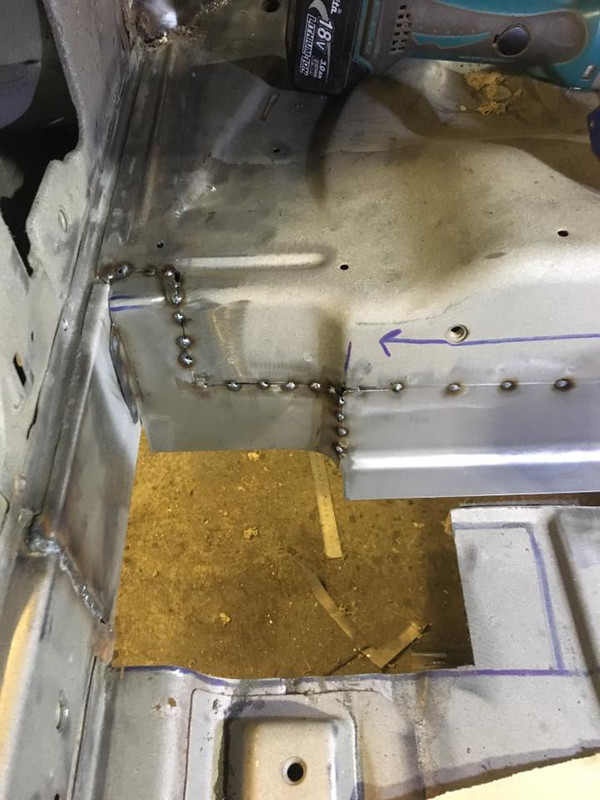
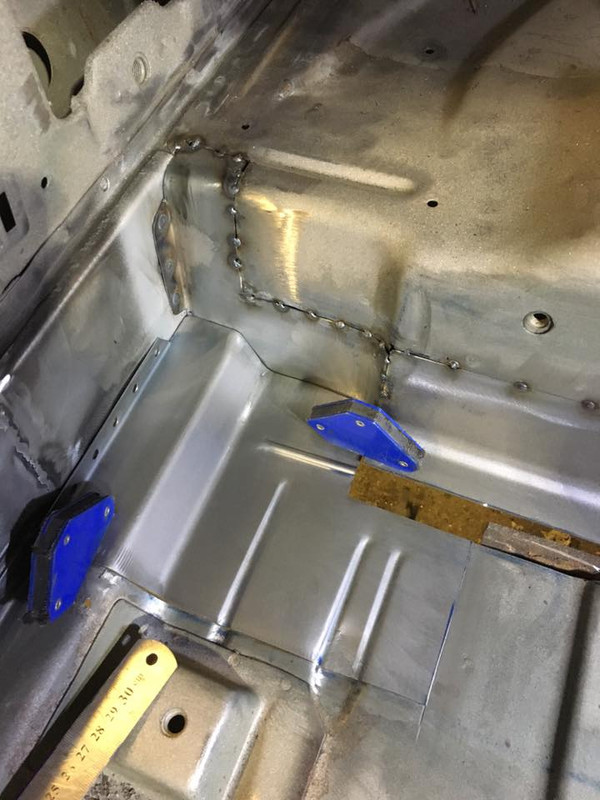
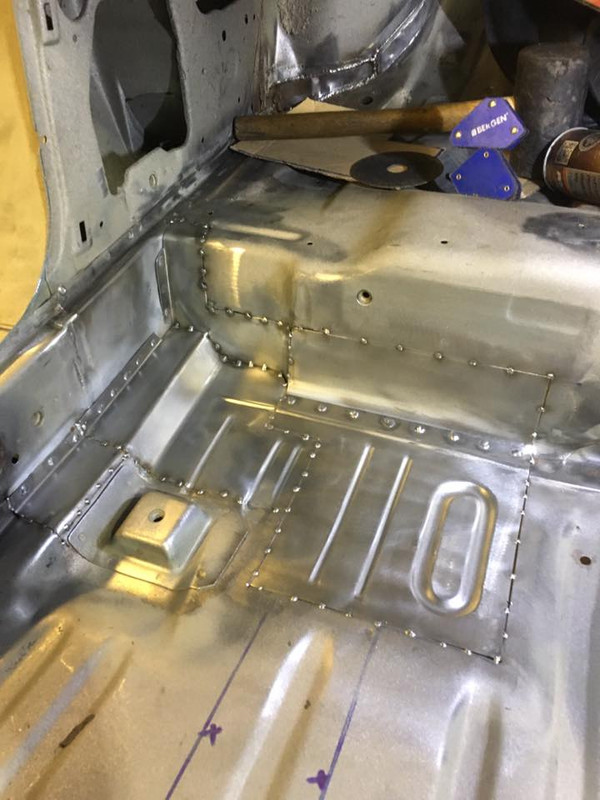
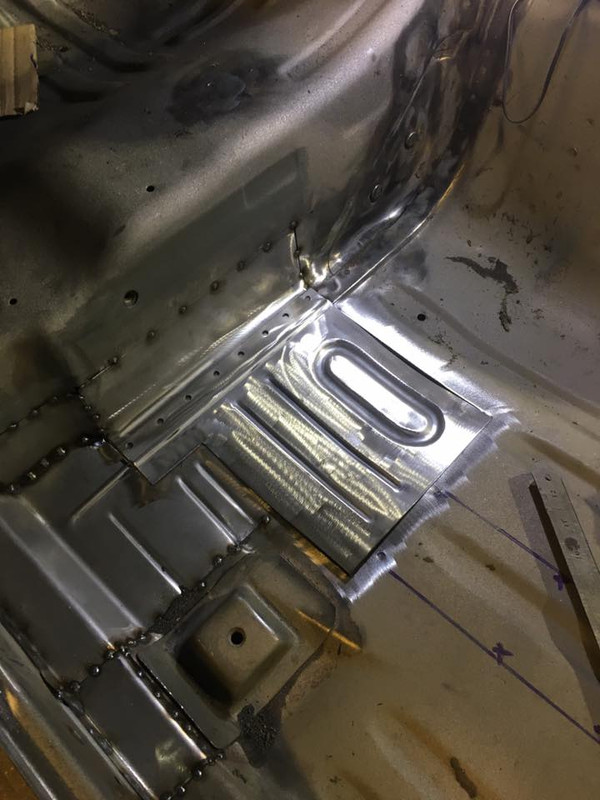
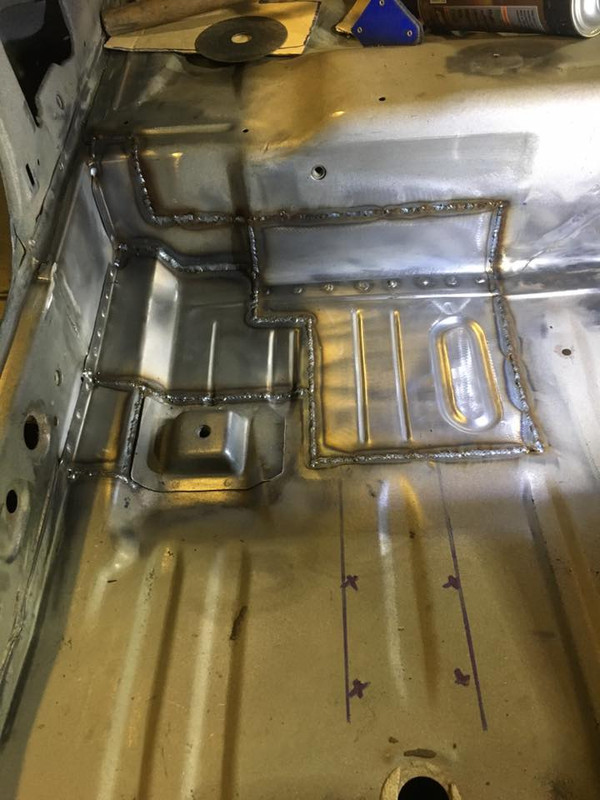
Another update - chassis repairs under the drivers rear floor.
Went down to have a look yesterday afternoon, it is definitely coming on well, but there's still a lot of work! The next few jobs are the big ones; flat boot floor, and rear quarter swap with the rear half cut.
I'll be going RB26, and need to decide between the low mount stock twin turbos, probably with rebuilt cores - or a big single top mount, opinions?? Initially the goal is 450 - 500bhp, this build is not all about getting as much power as I can - it's a road car and needs to be reliable. Maybe the odd 1/4 mile at pod, but I don't think I dare take it on track!
The level of detail he goes to still amazes me on this.
Last edited by LukeShepp; 16-04-2018 at 17:58.
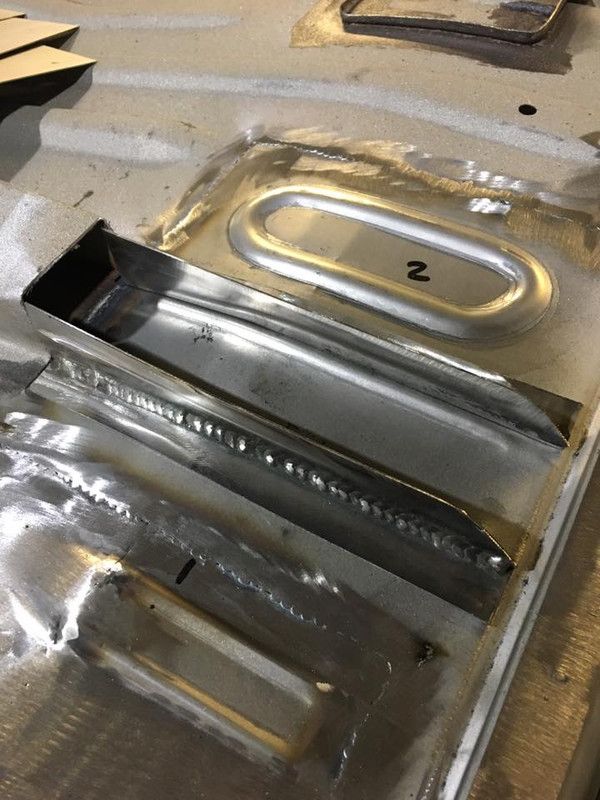
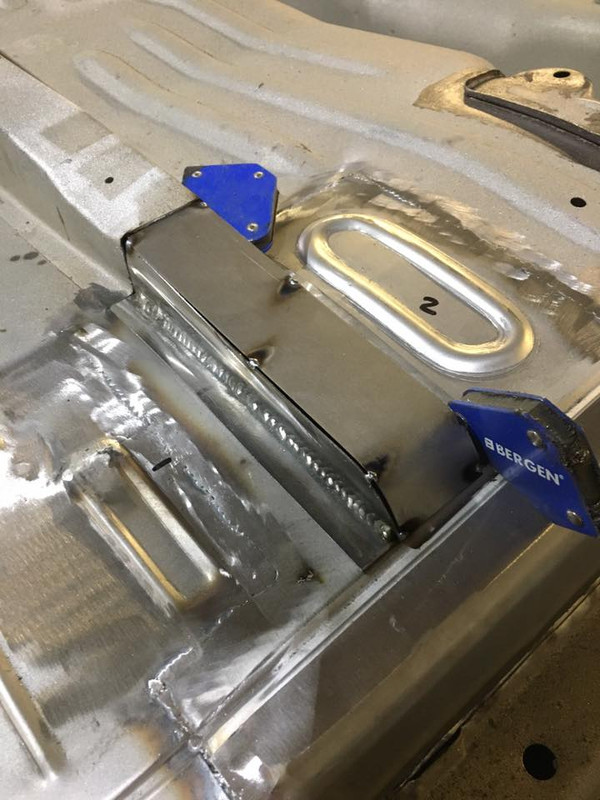
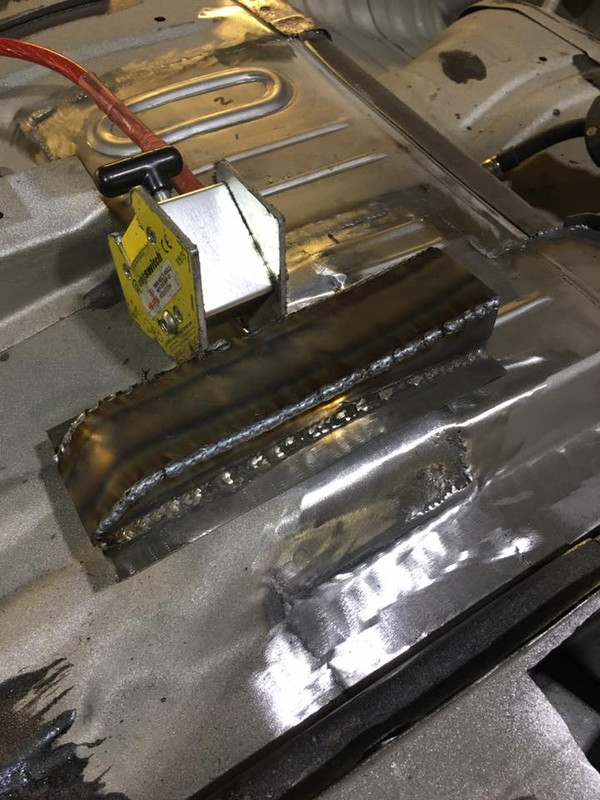
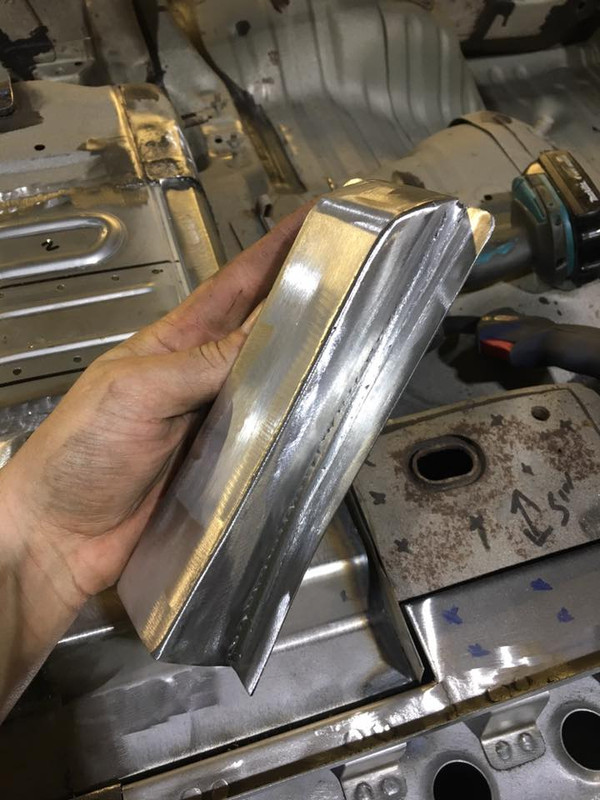
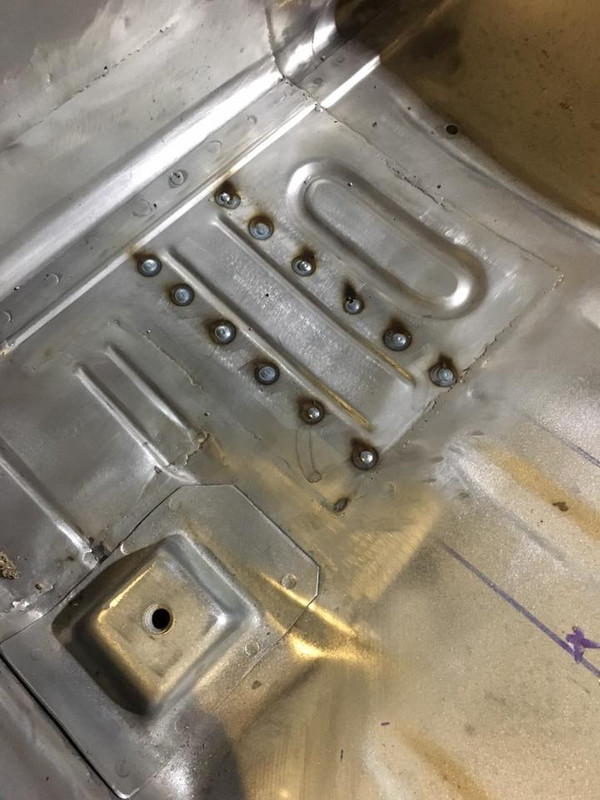
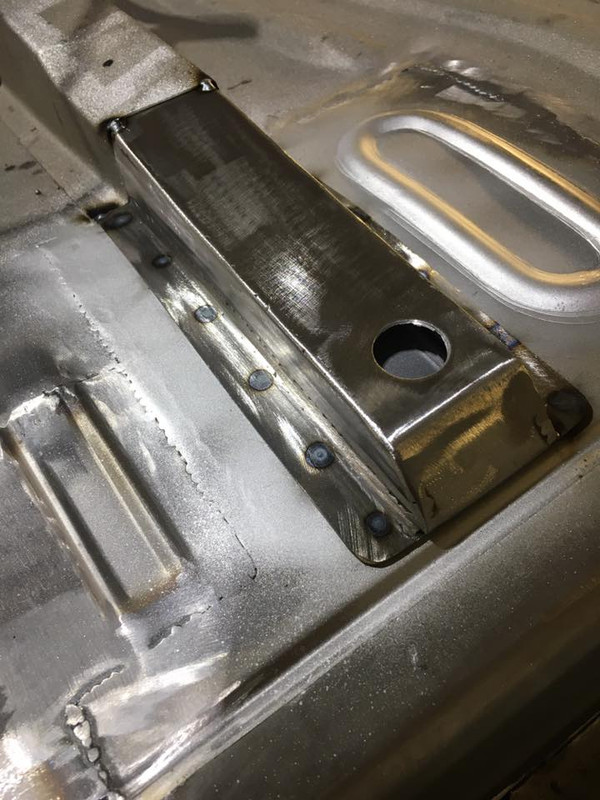
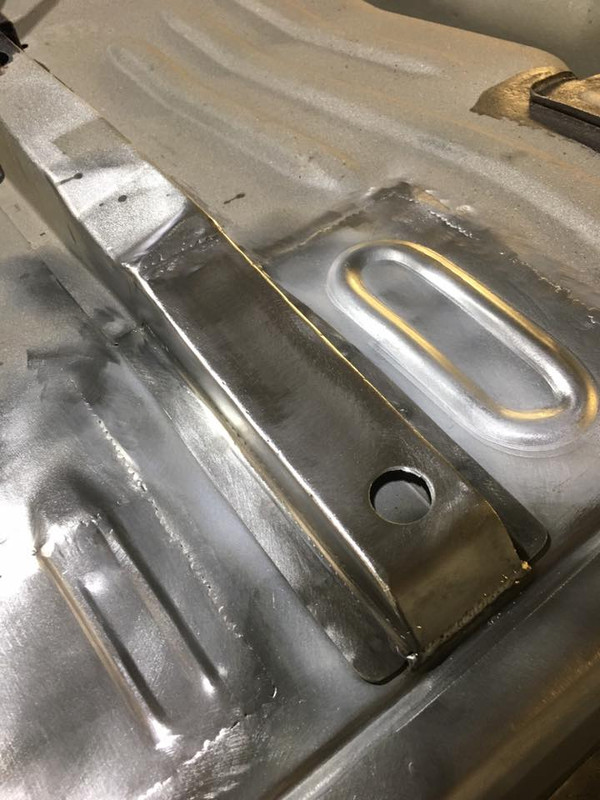
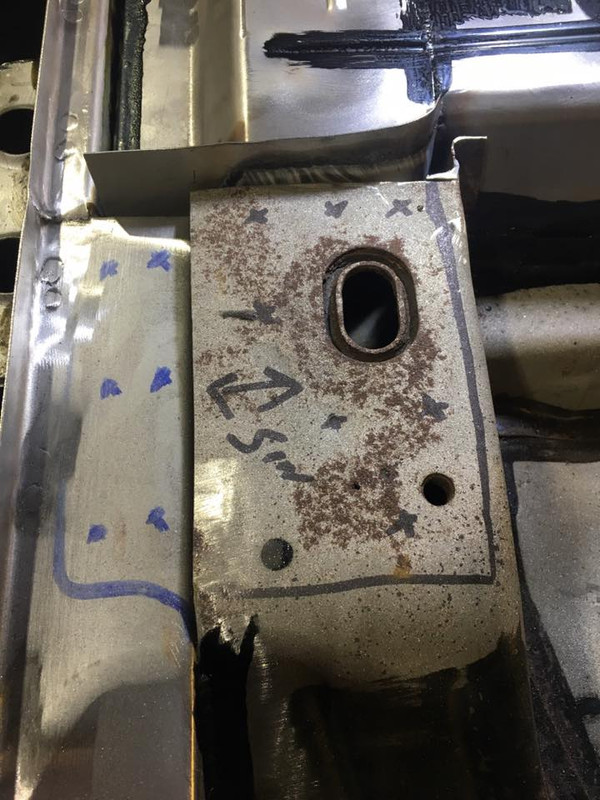
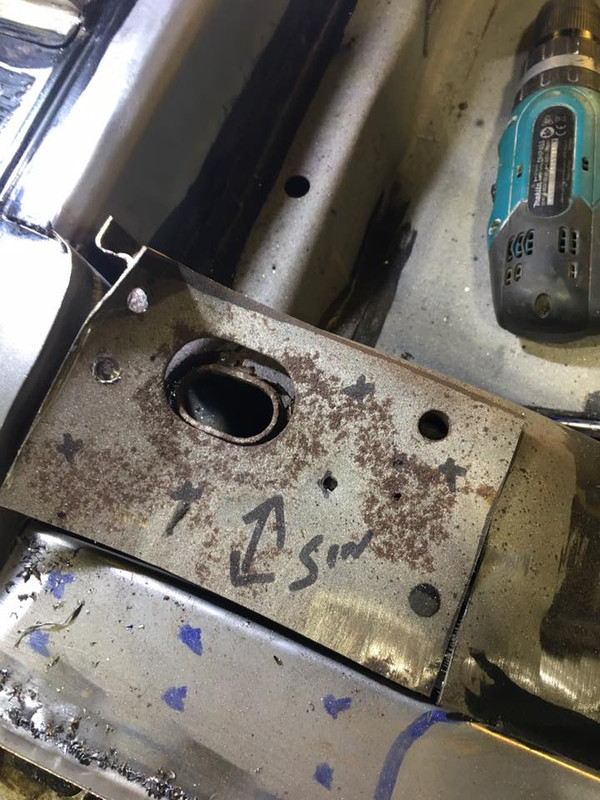
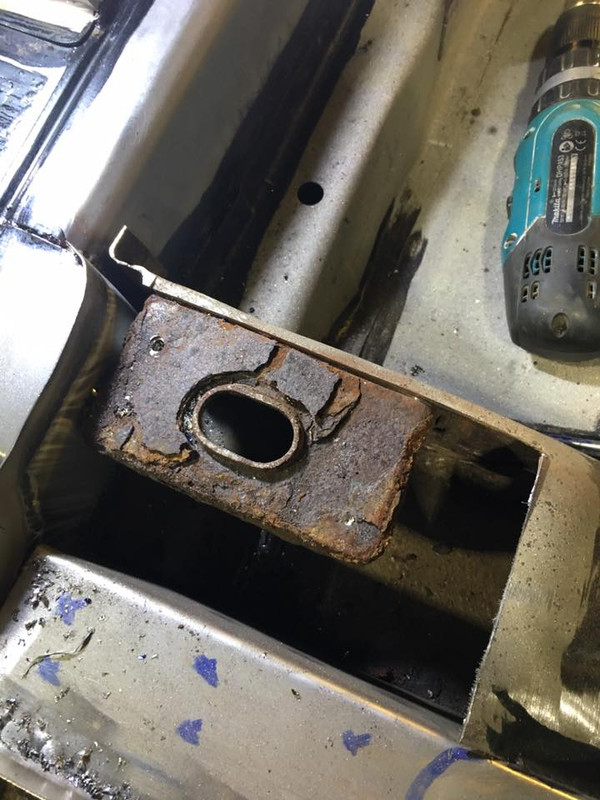
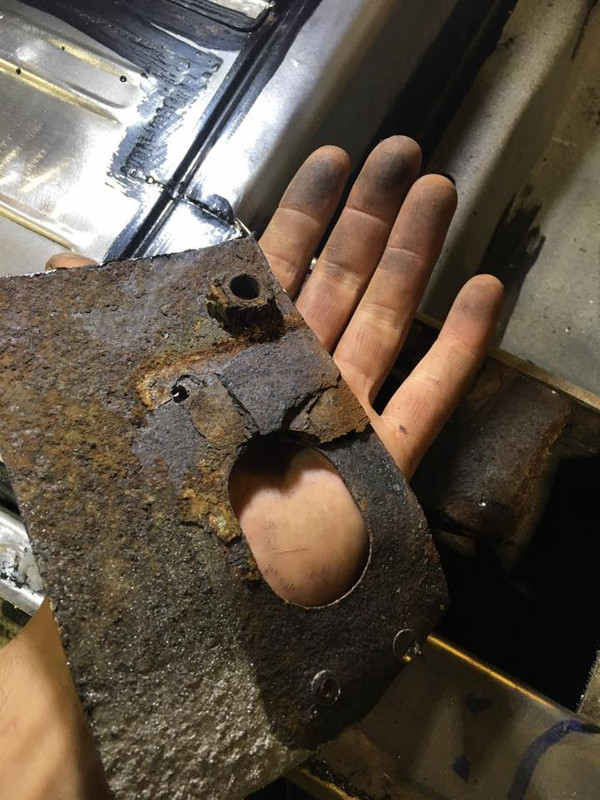
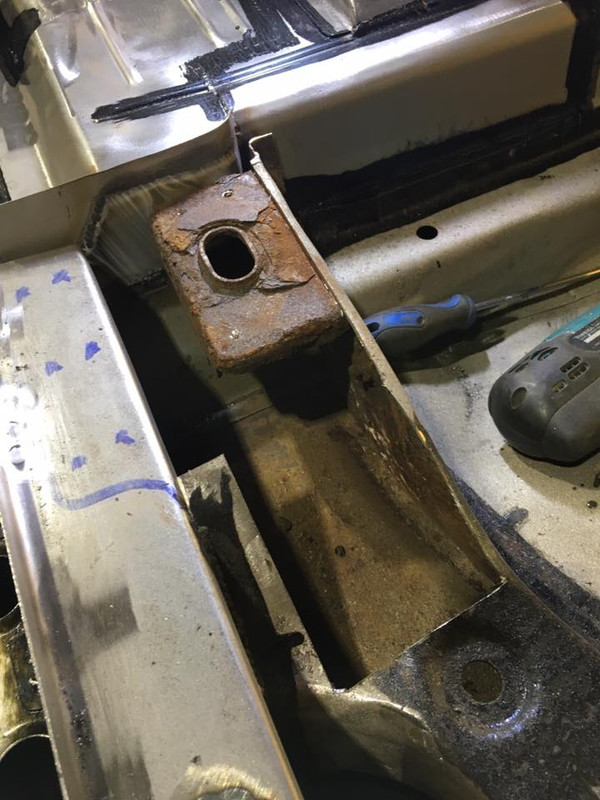
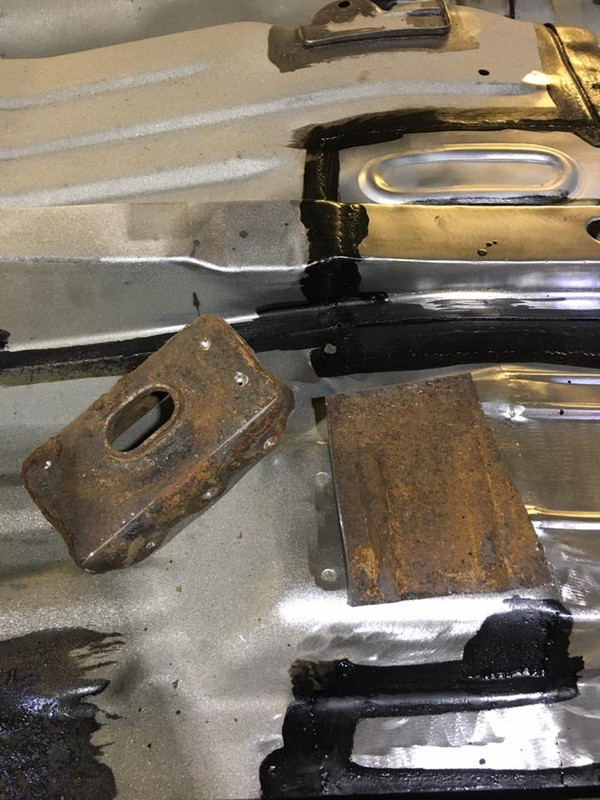
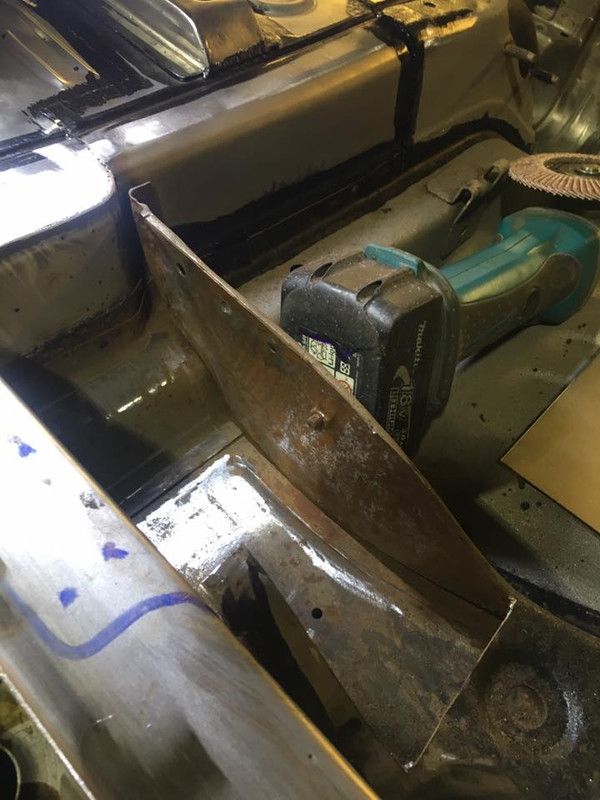
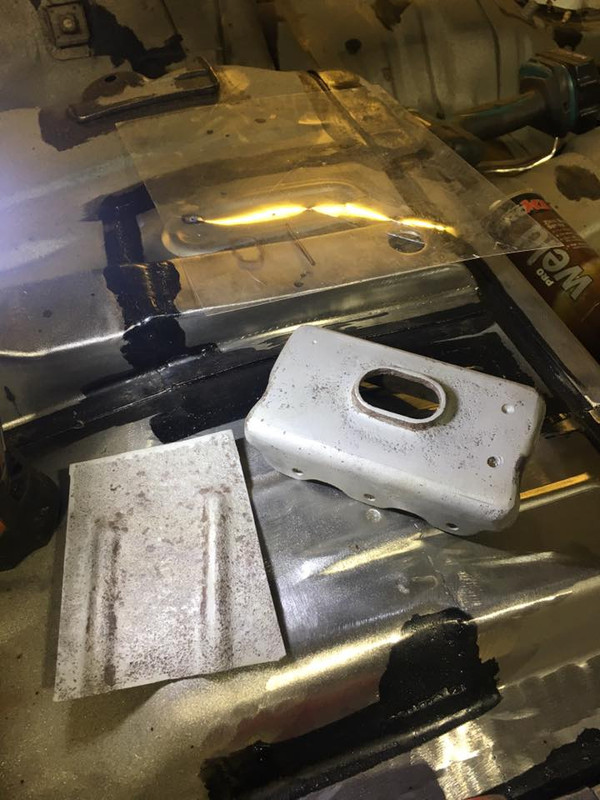
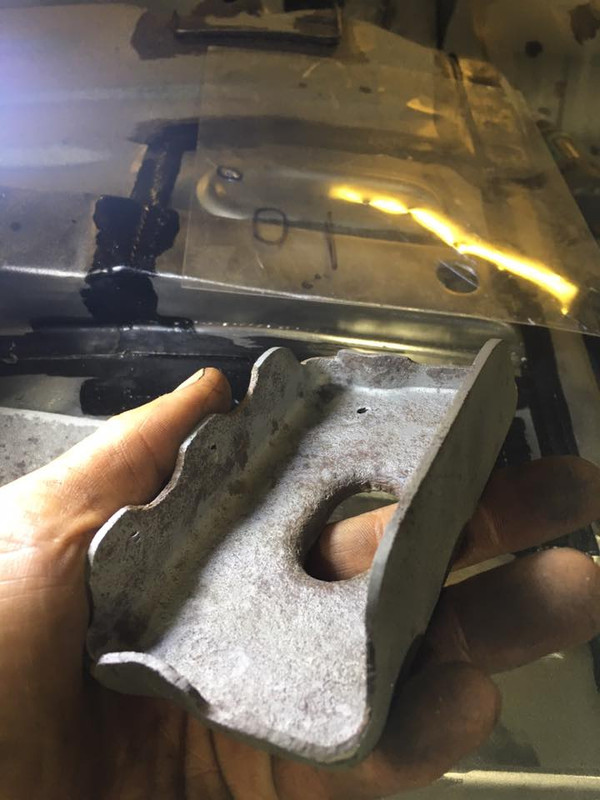
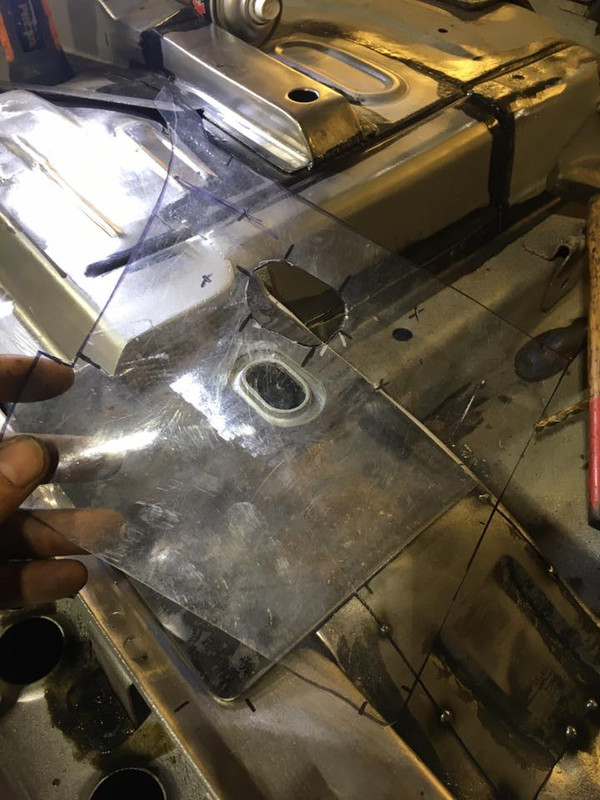
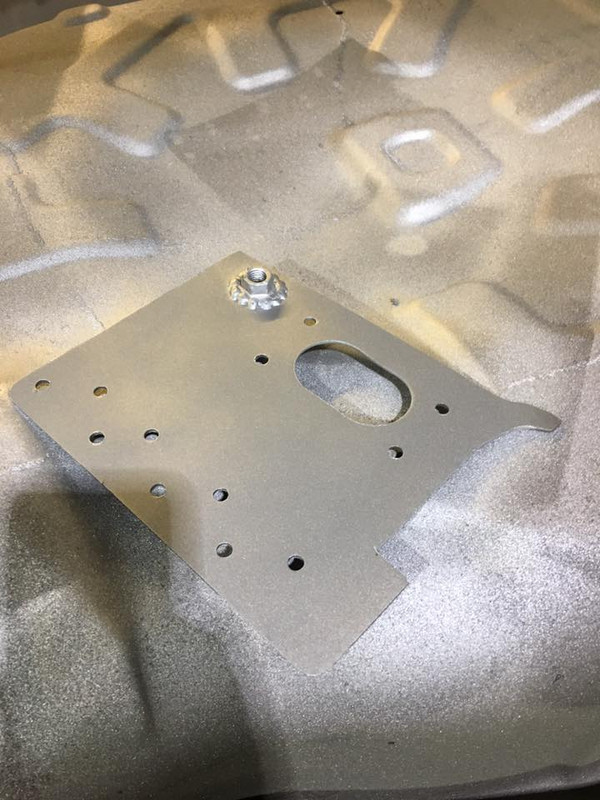
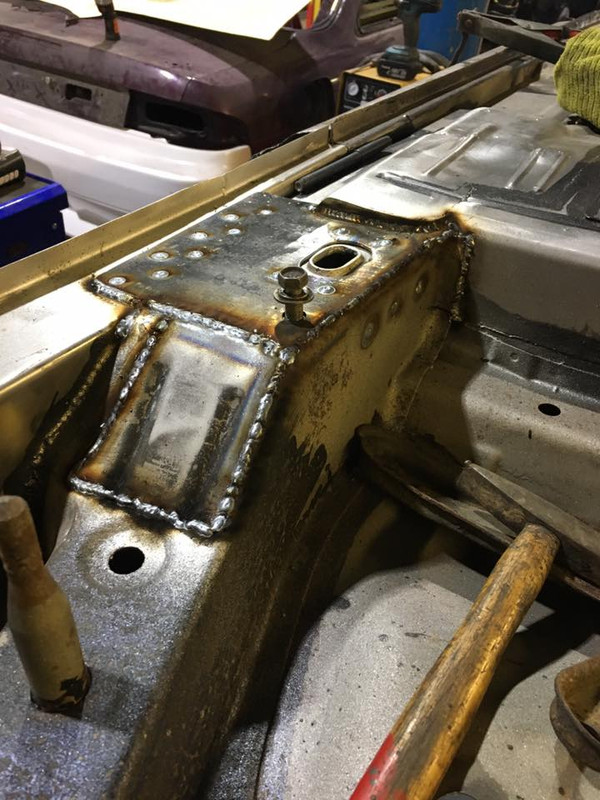
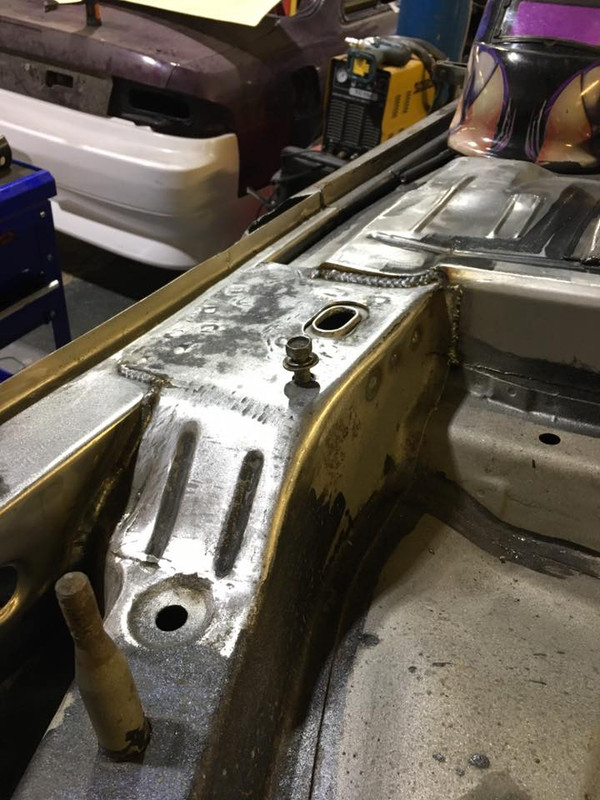
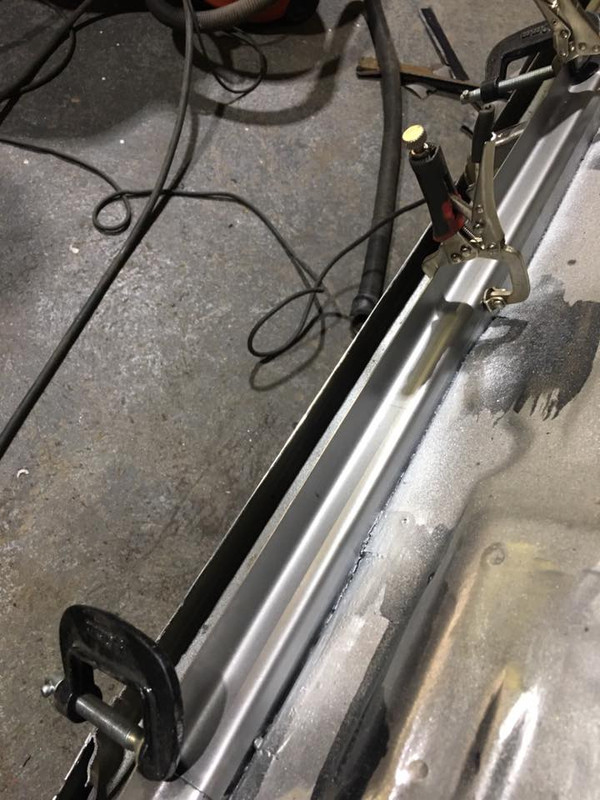
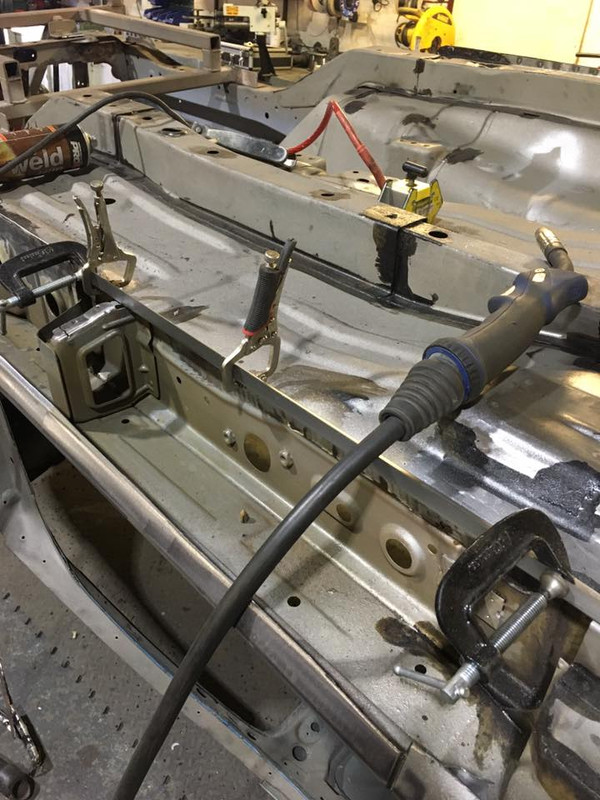
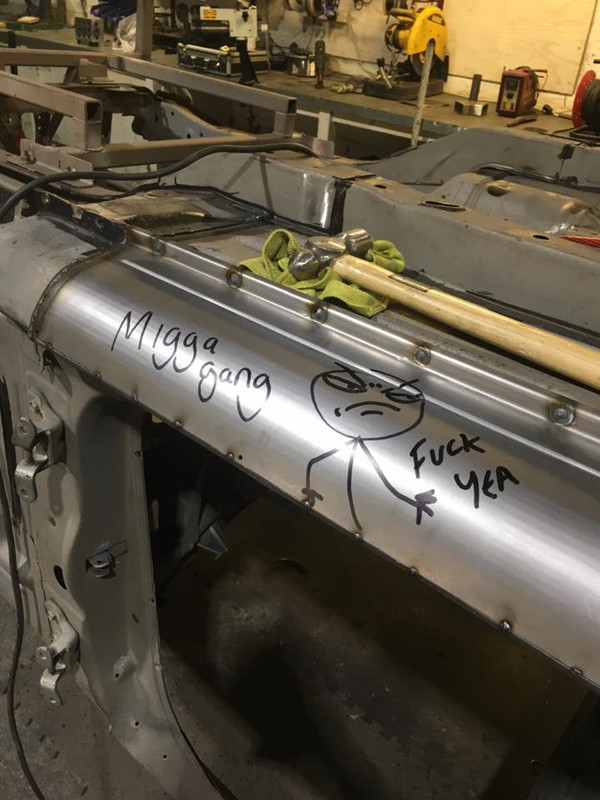
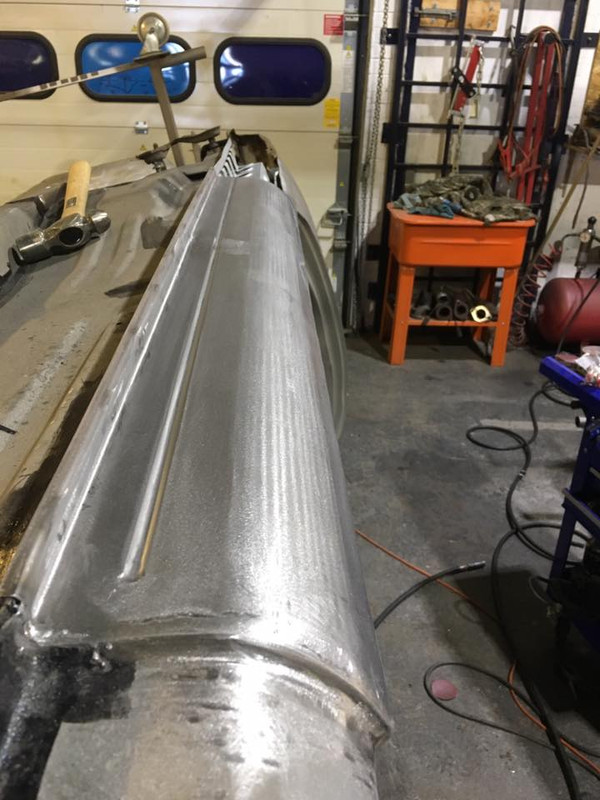
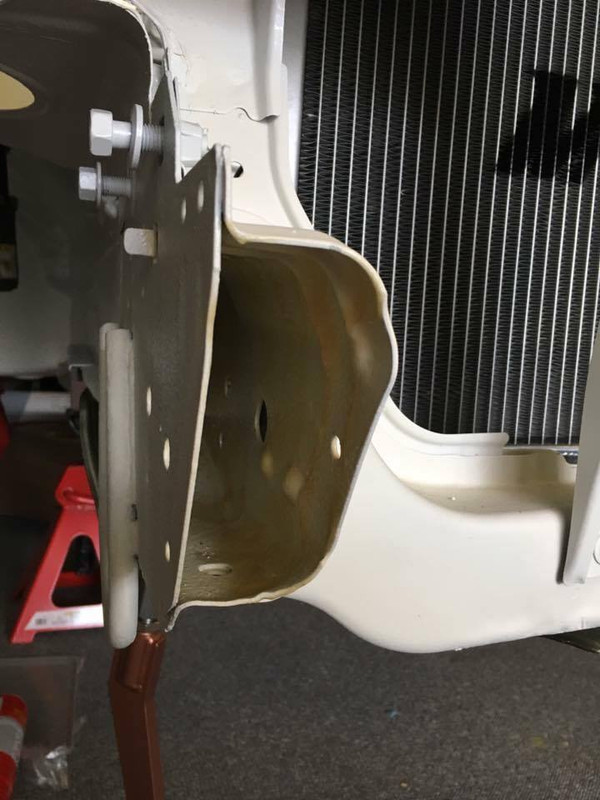
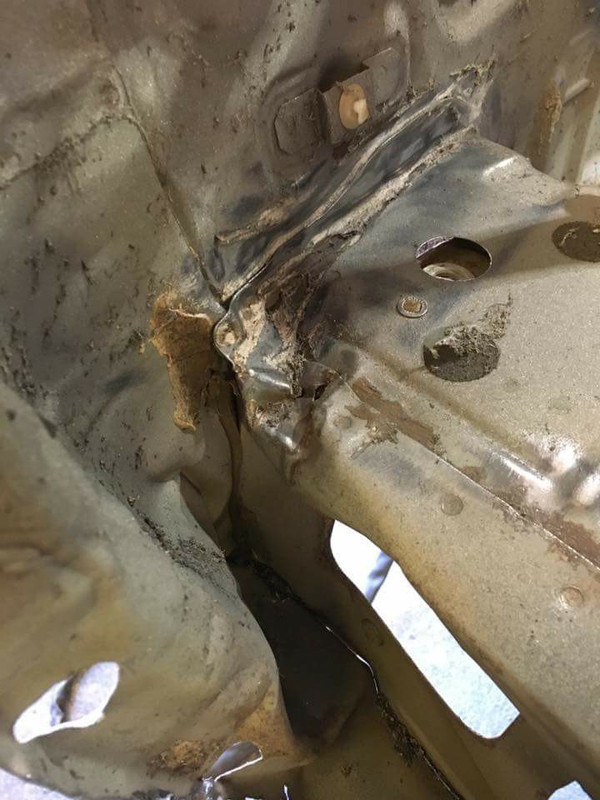
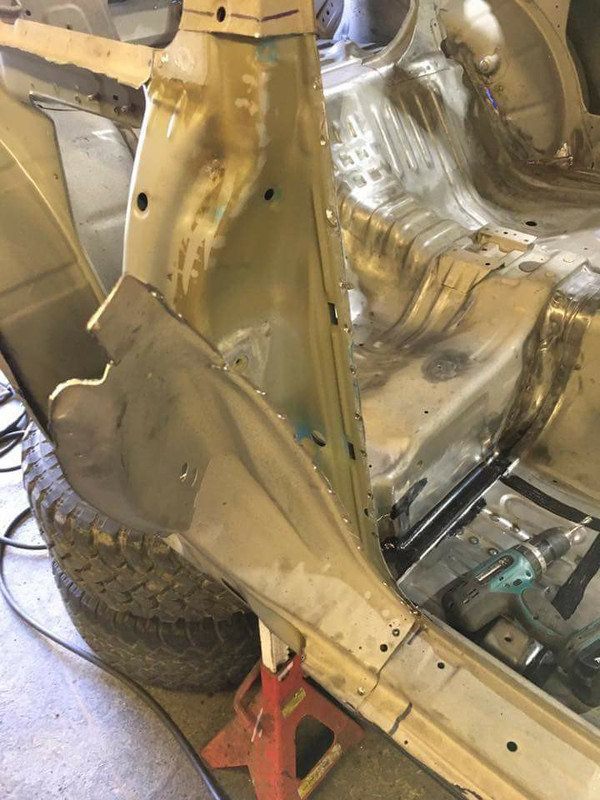
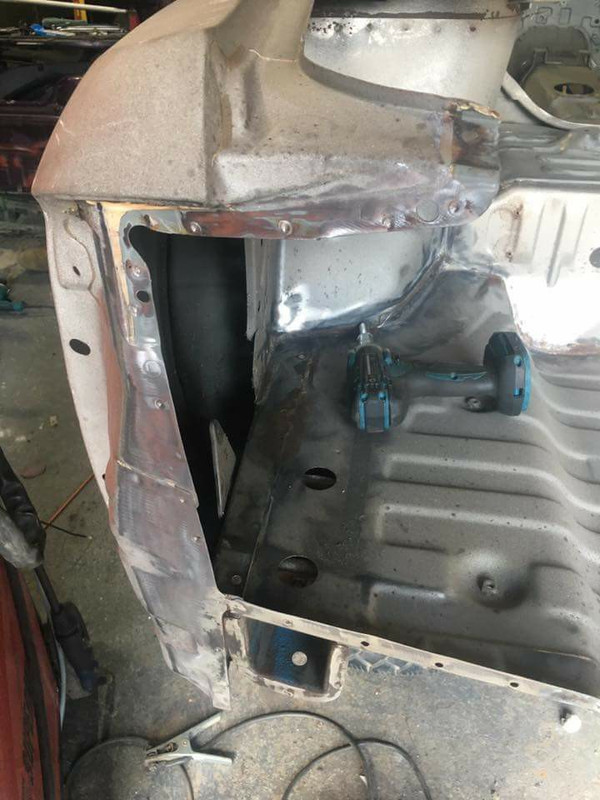
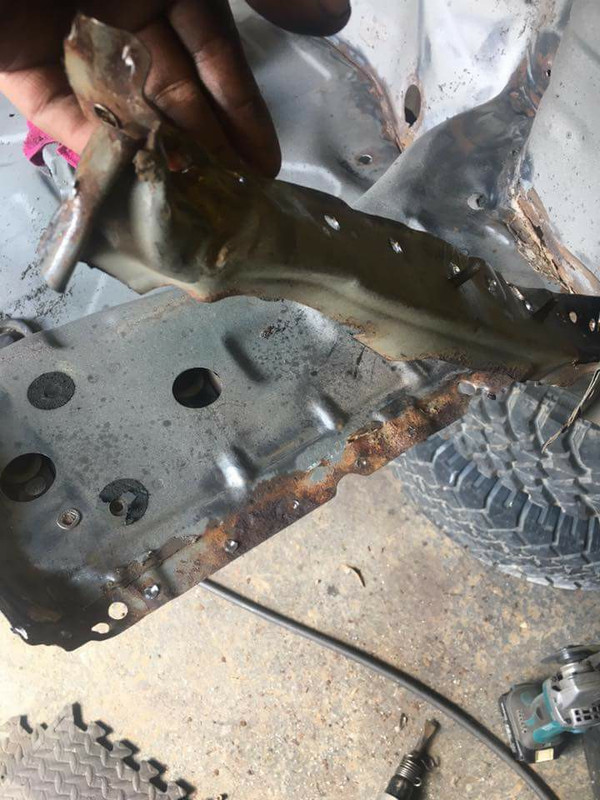
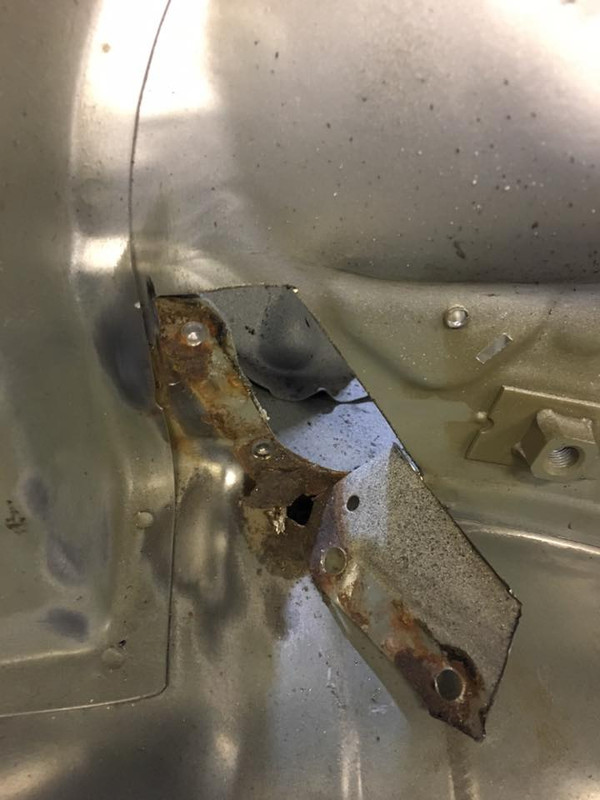
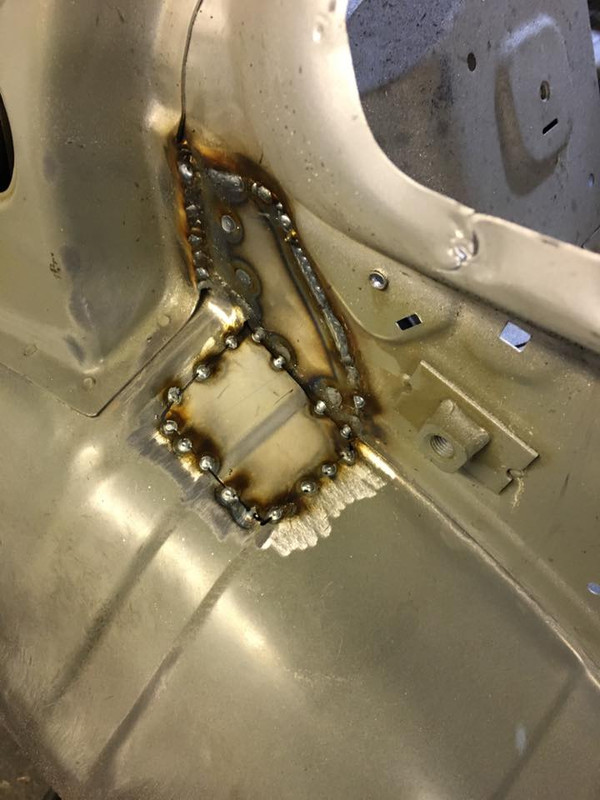
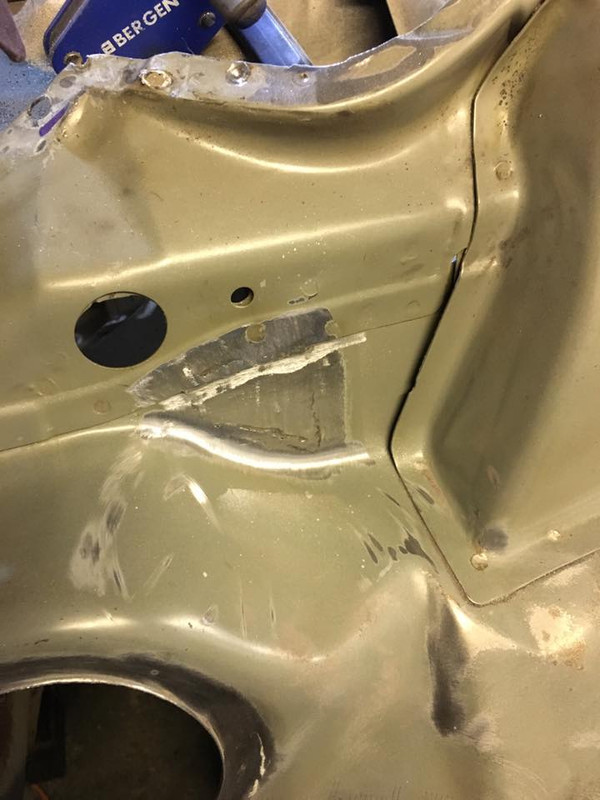
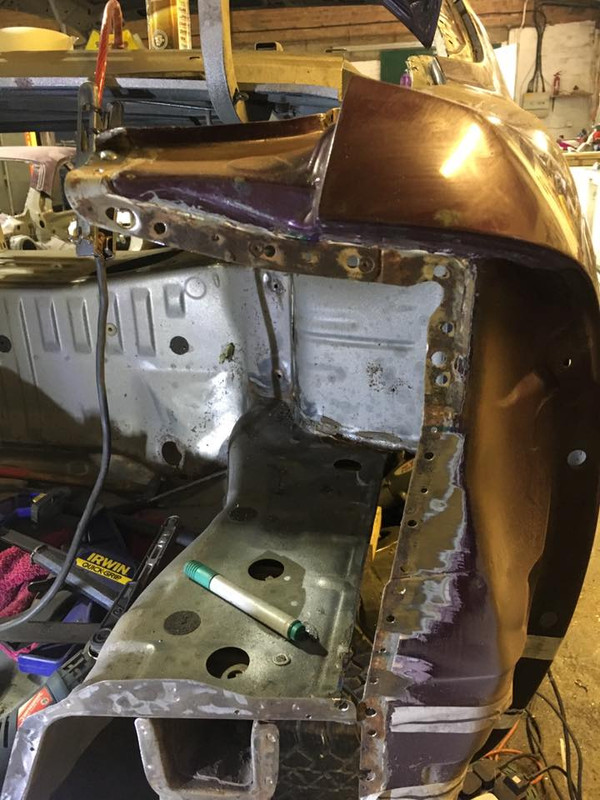
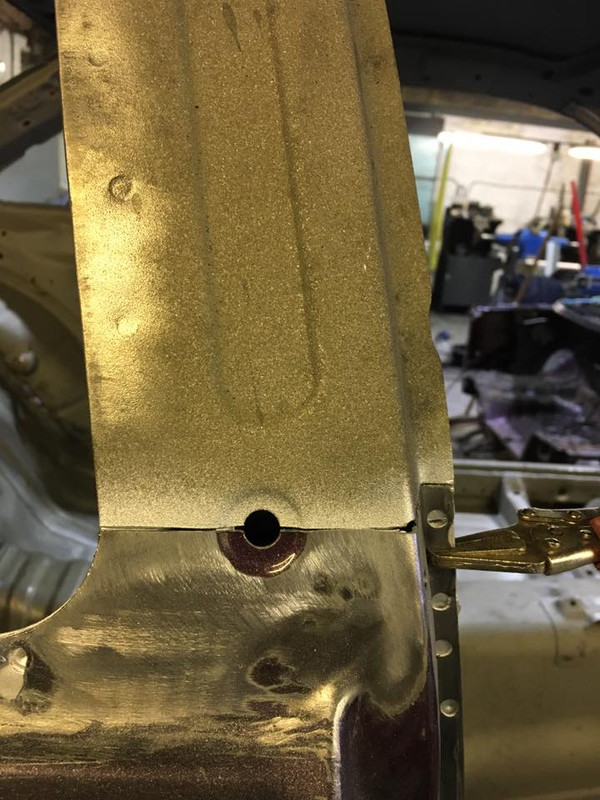
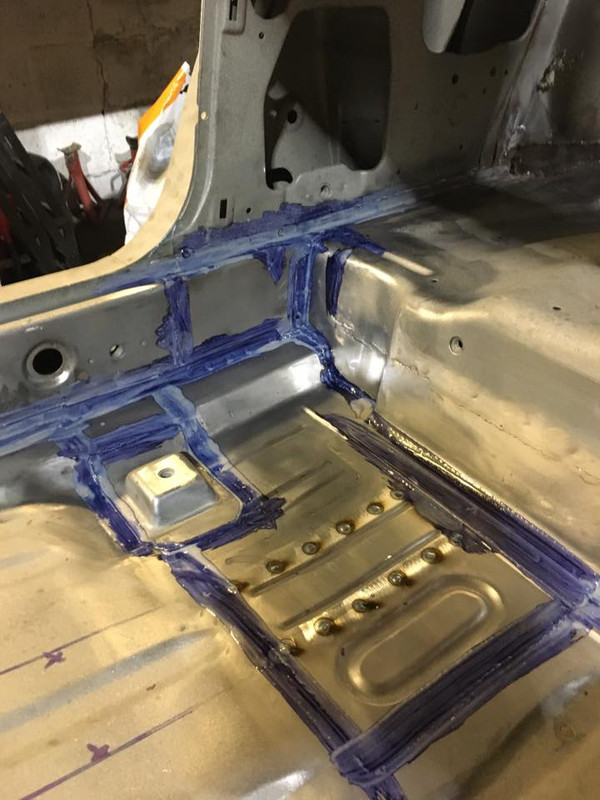
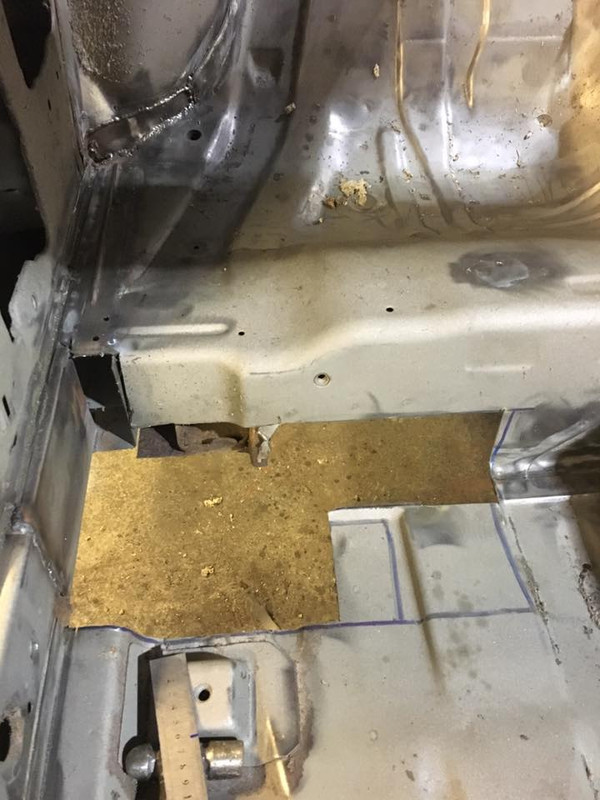
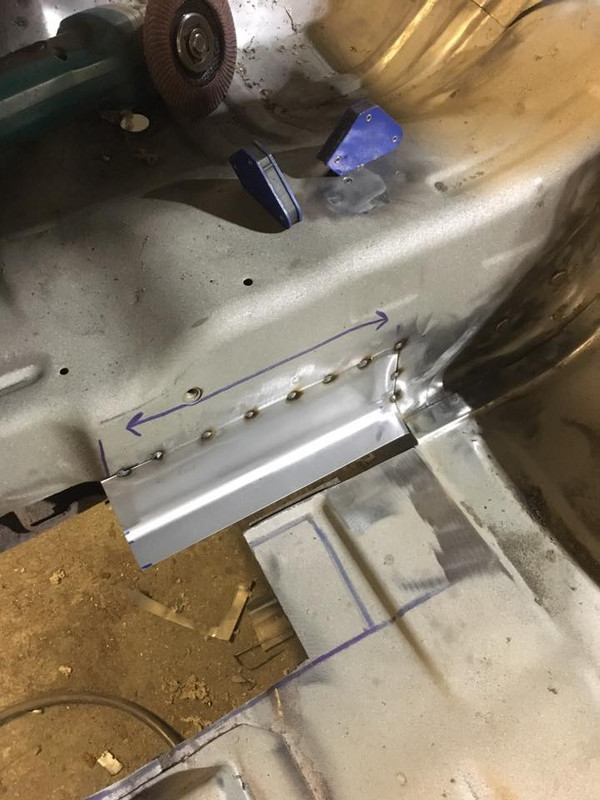
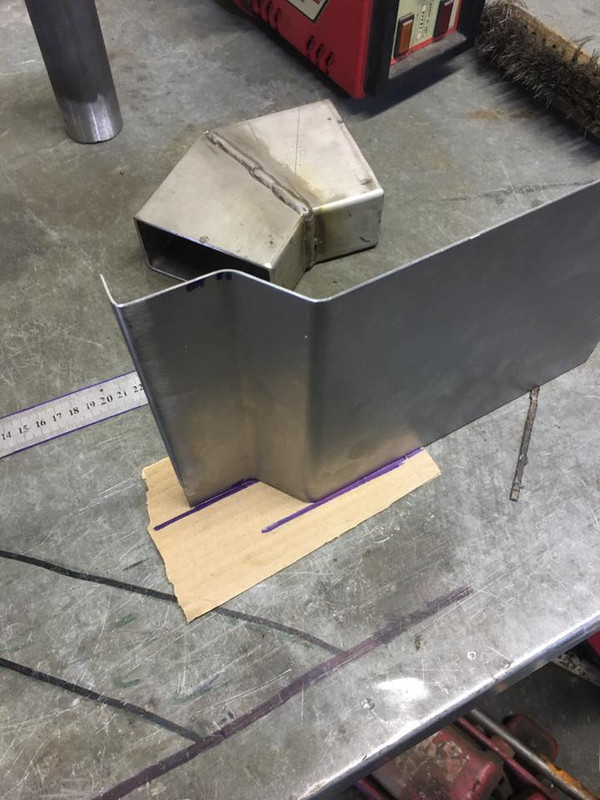
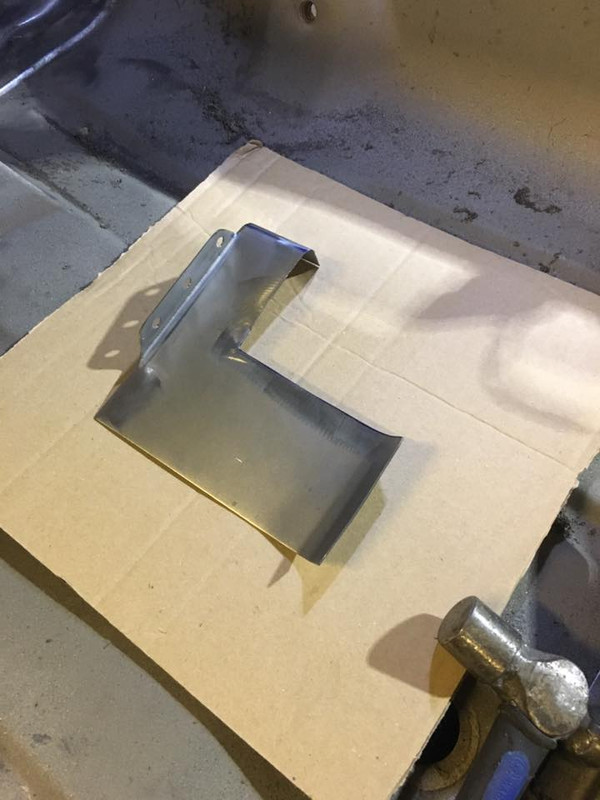
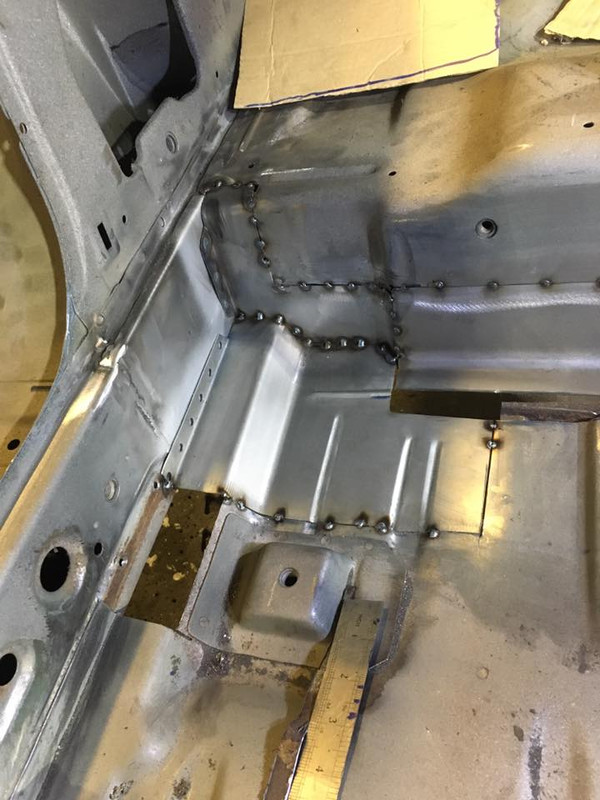
More work fixing the mess that was the drivers side rear sill/subframe boomerang mount.
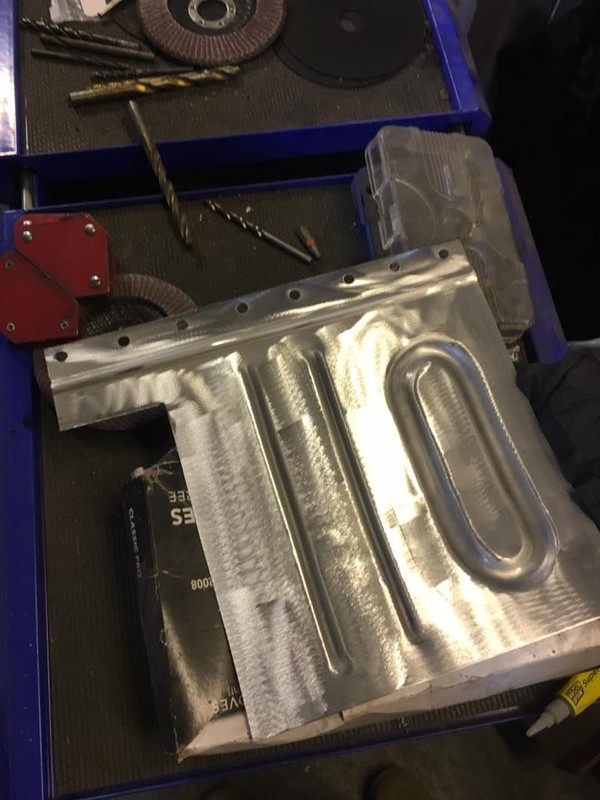
All cut out, parts blasted, and then rebuilt back up making sure the bracket was still lined up.
Last edited by LukeShepp; 16-04-2018 at 17:58.
Loving the work going into this
I'd suggest single - less stuff in the engine bay, and a really cool looking big turbo when you open the bonnet
With modern posh turbos with their billet cores and stuff big singles aren't the laggy things they once were, while still giving nice drama when they come in, in my limited experience.
Cheers!Originally Posted by Evilchap

Yeah, space, lag and reliability are the main points really
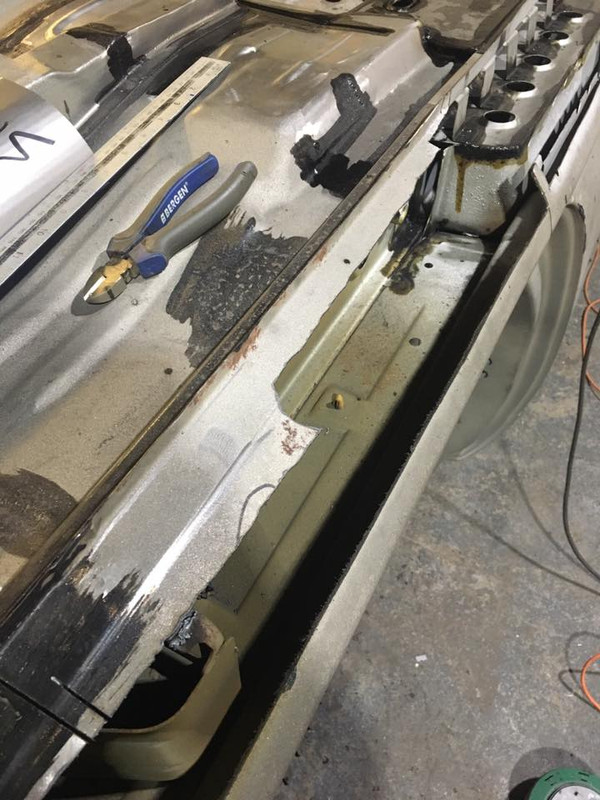
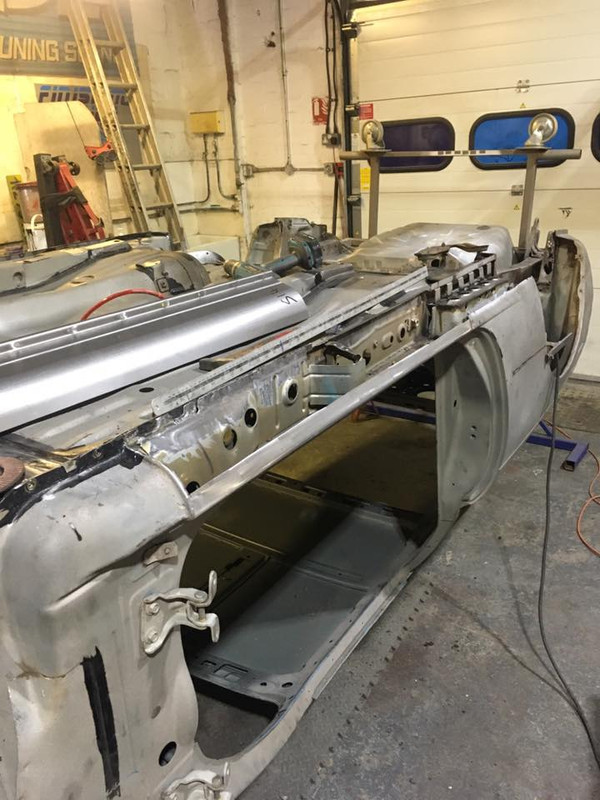
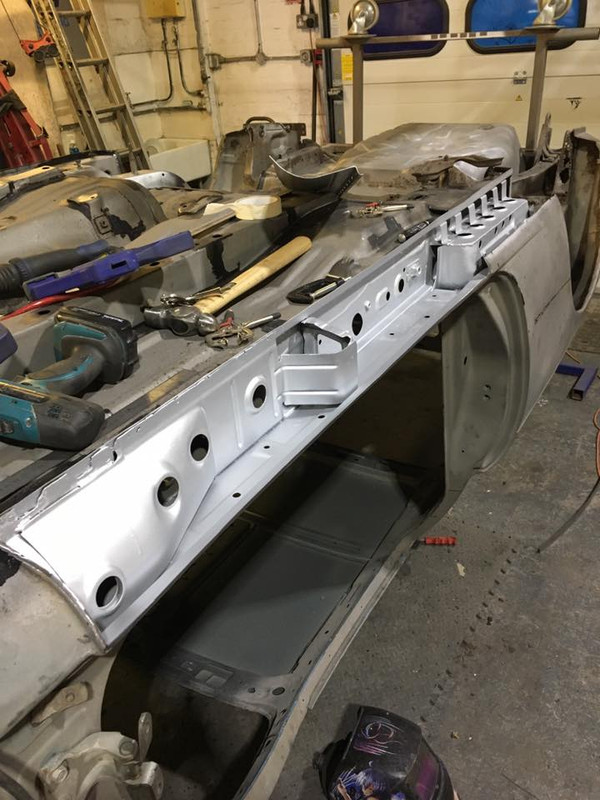
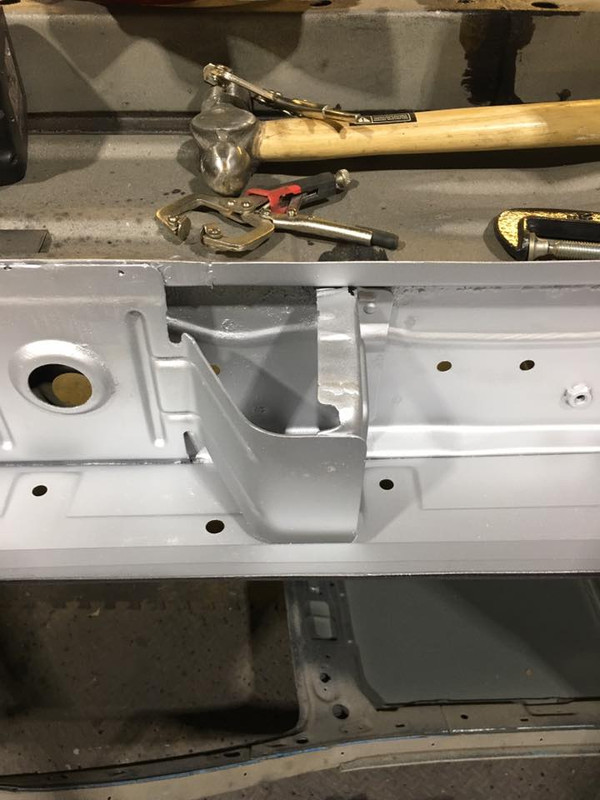
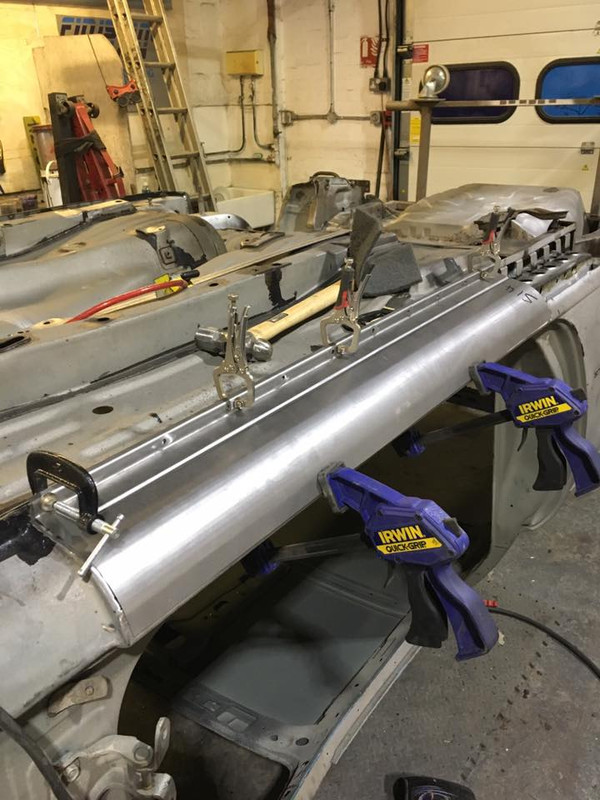
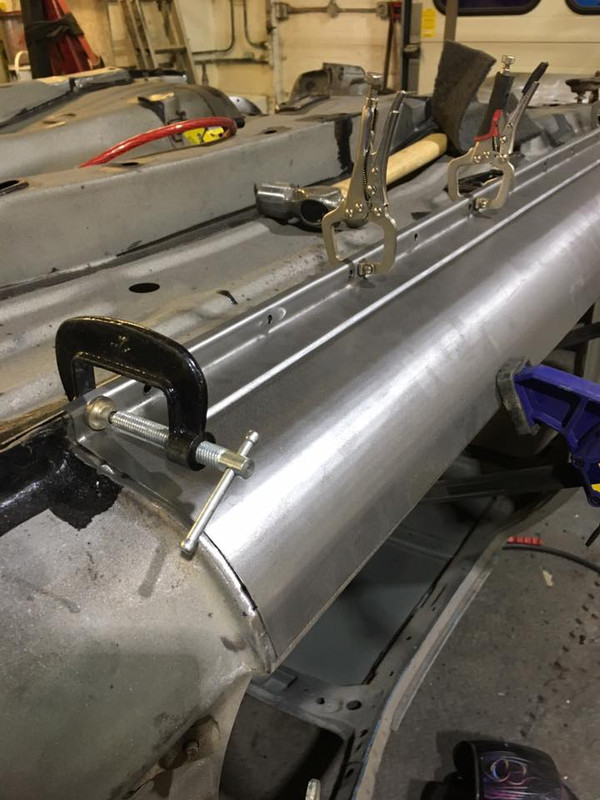
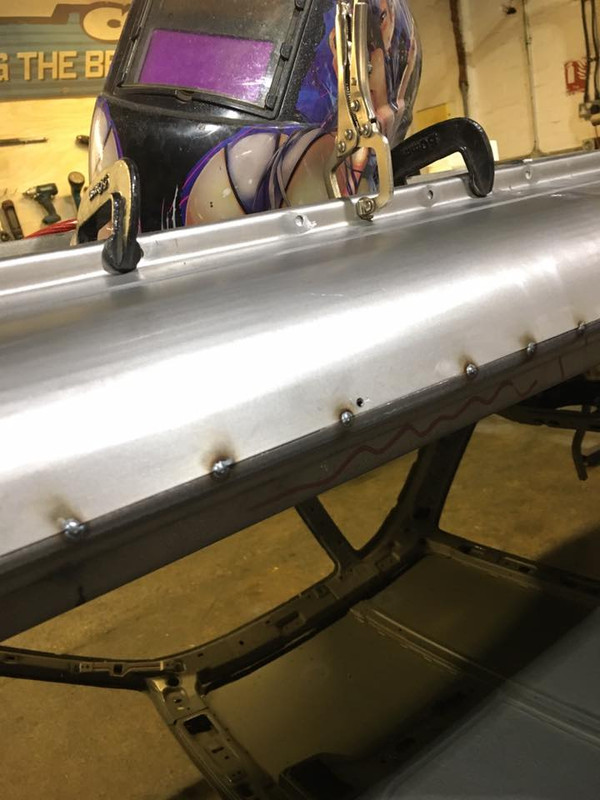
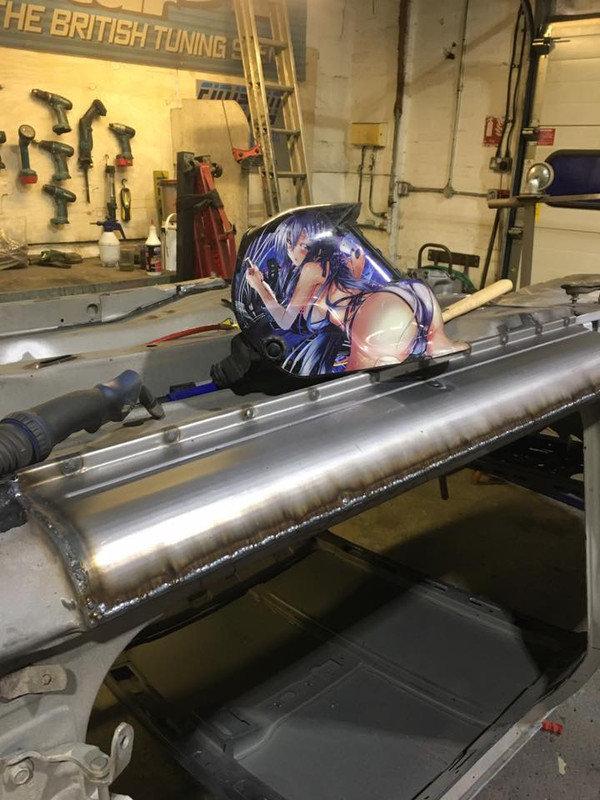
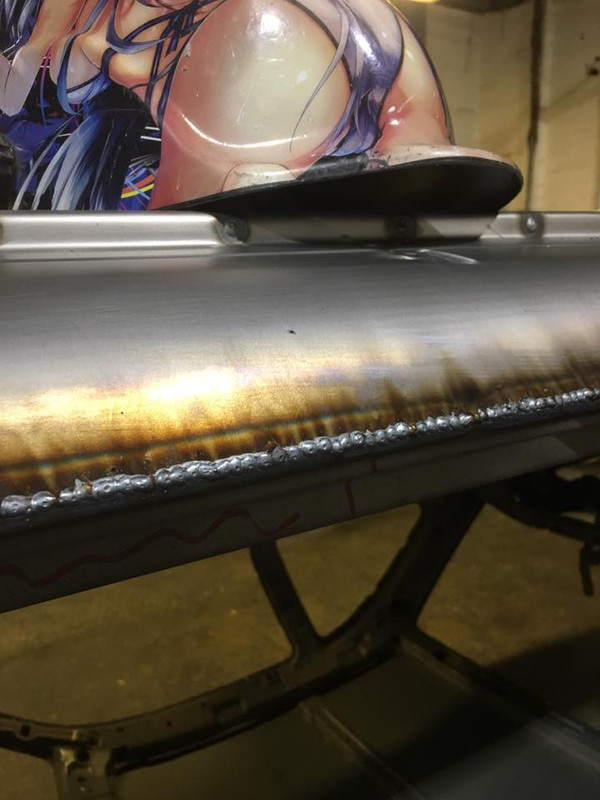
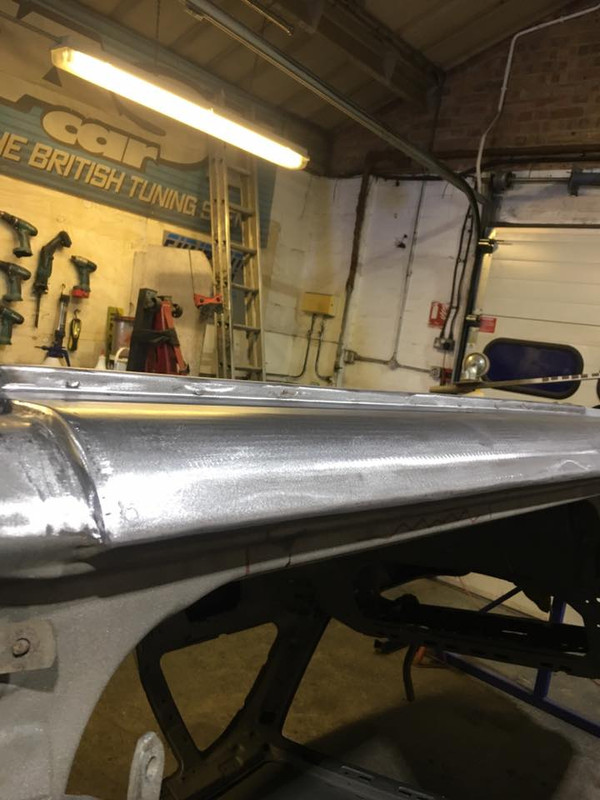
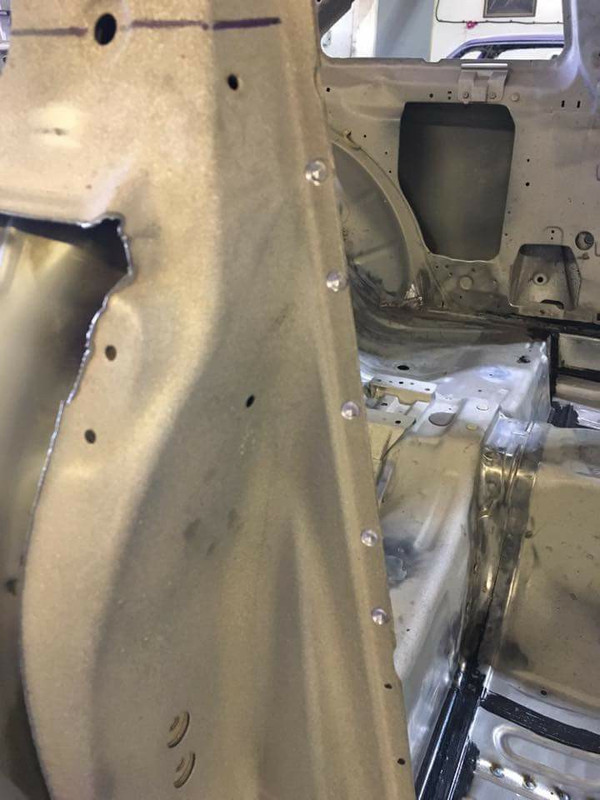
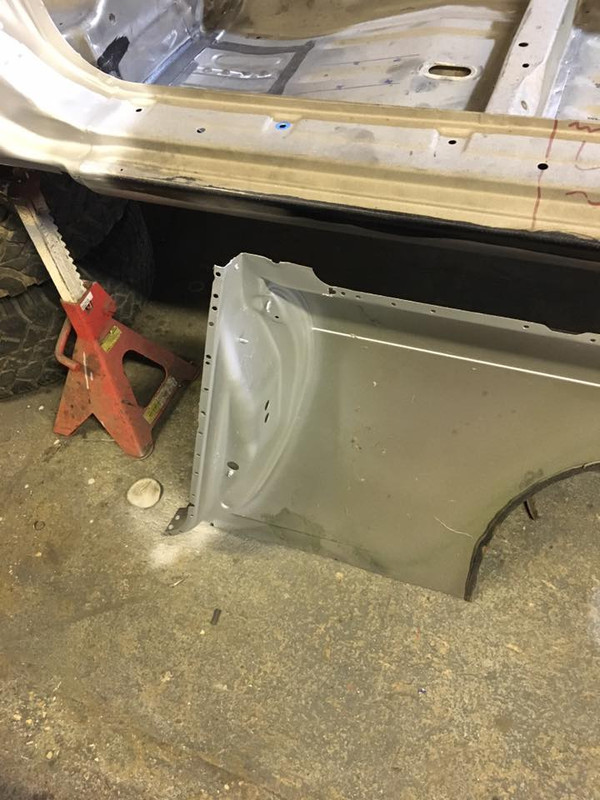
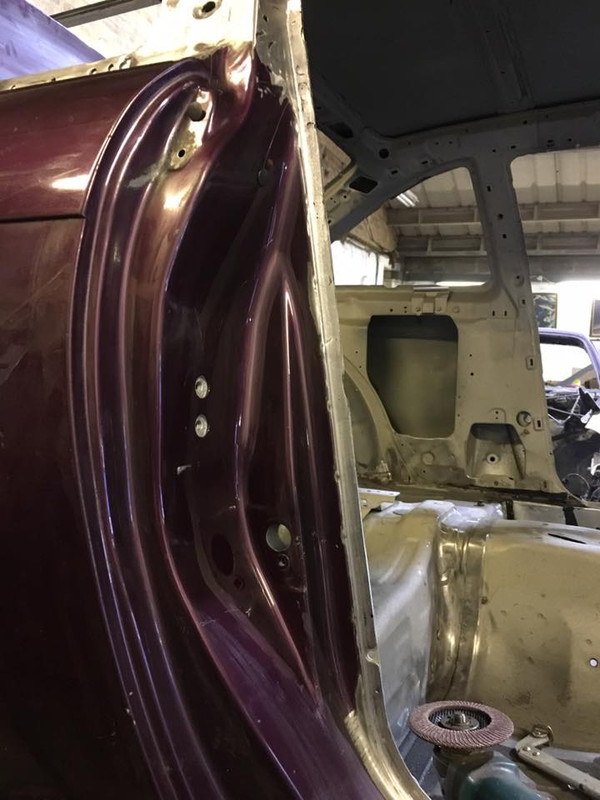
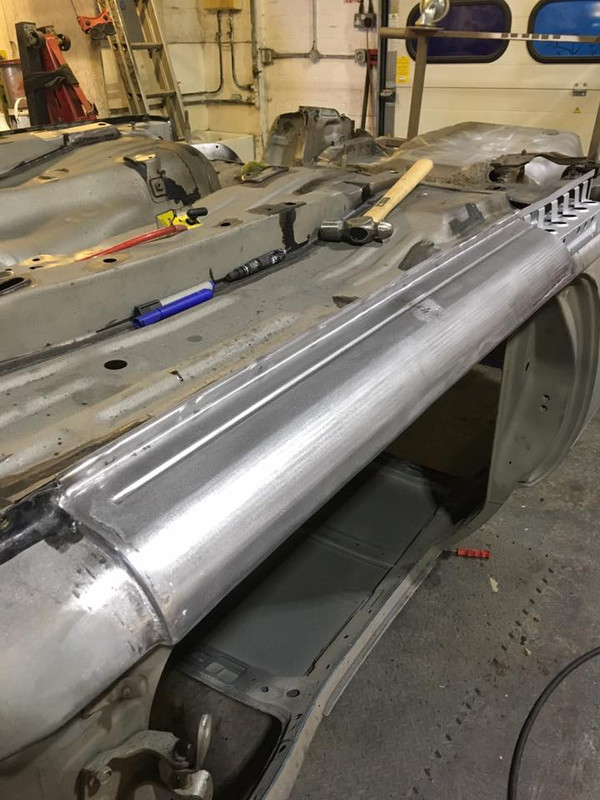
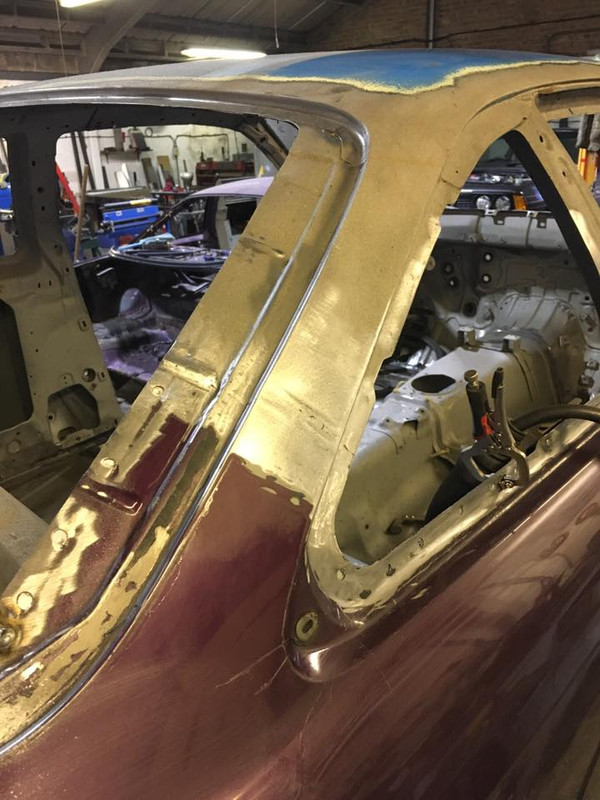
Next up, drivers side sill (replaced with the panels that Steve makes and sells!)
Last edited by LukeShepp; 16-04-2018 at 17:58.
The work going into this is on another level! Steve's skills are amazing, keep the updates coming
Just a quick question, what does he spray inside the sills and box sections etc?
Much more to come!
He uses zinc weld through primer, with rustisol on the areas needing major protection
Sent from my SM-G930F using Tapatalk
Will he also be using a cavity wax of some sort once finished?
Sent from my SM-G900F using Tapatalk
Will be doing yes - when it is painted and back with me it'll be something that I'll do. Painters have said they don't want it done before spraying as it makes it harder for them, if the wax gets on surfaces that are being sprayed etc.
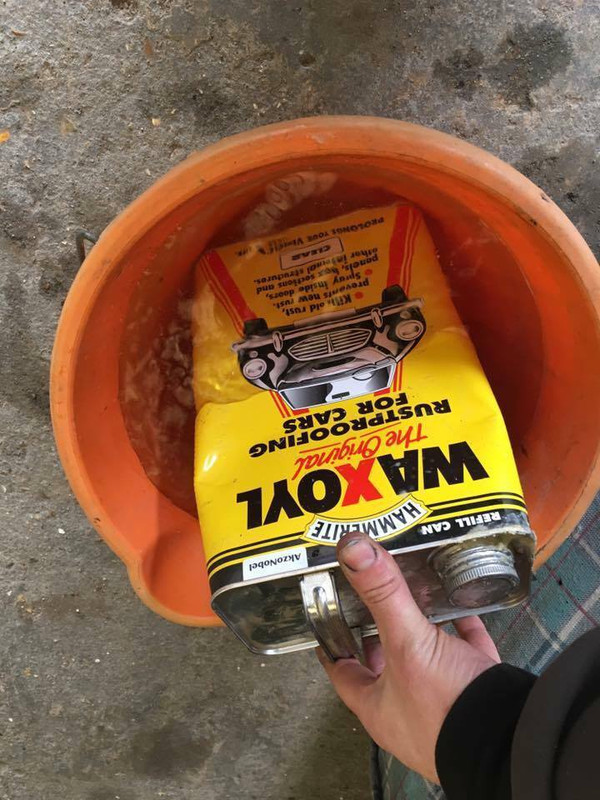
Will be using waxoil, put the tub in some warm water then spray it into every hole I can find!
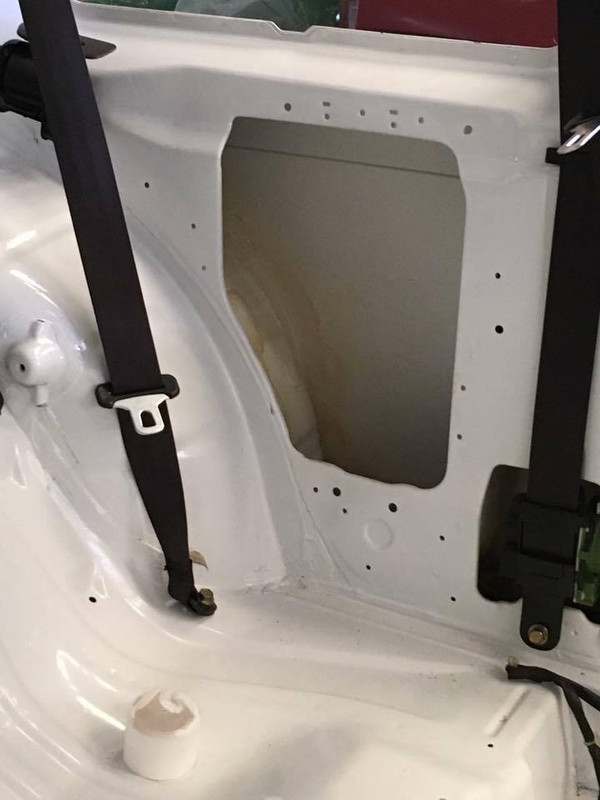
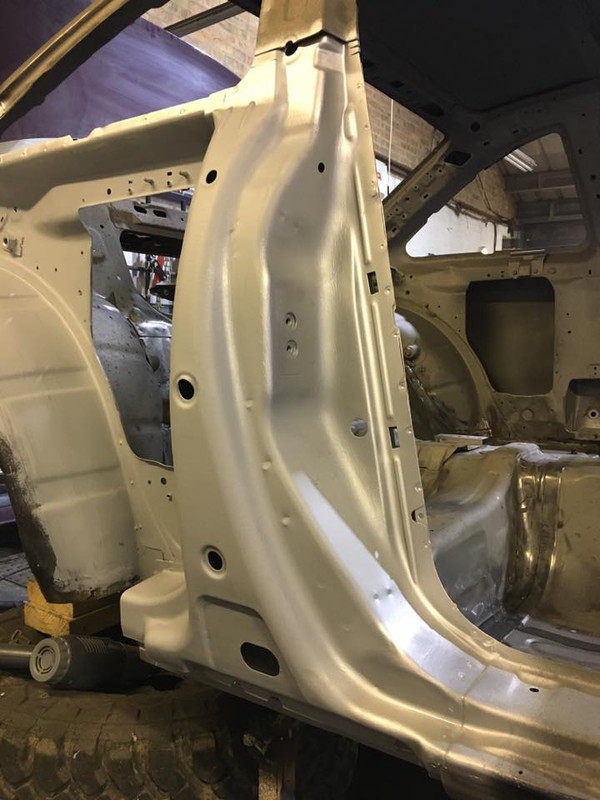
This is some pictures of the process of cavity waxing on Steve's previous S14 restoration (this is the same white s14 as the pictures I posted a few pages back)
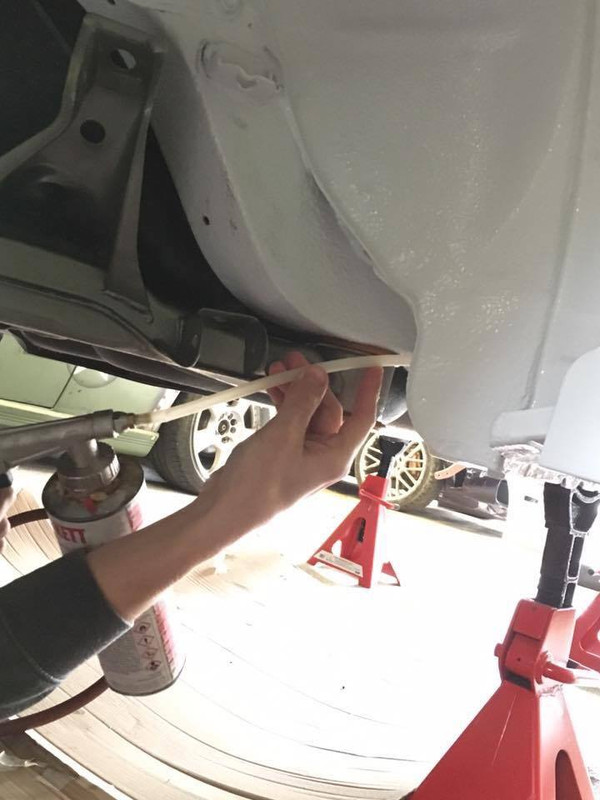
Last edited by LukeShepp; 16-04-2018 at 17:57.
Cheers mate
Sent from my SM-G900F using Tapatalk
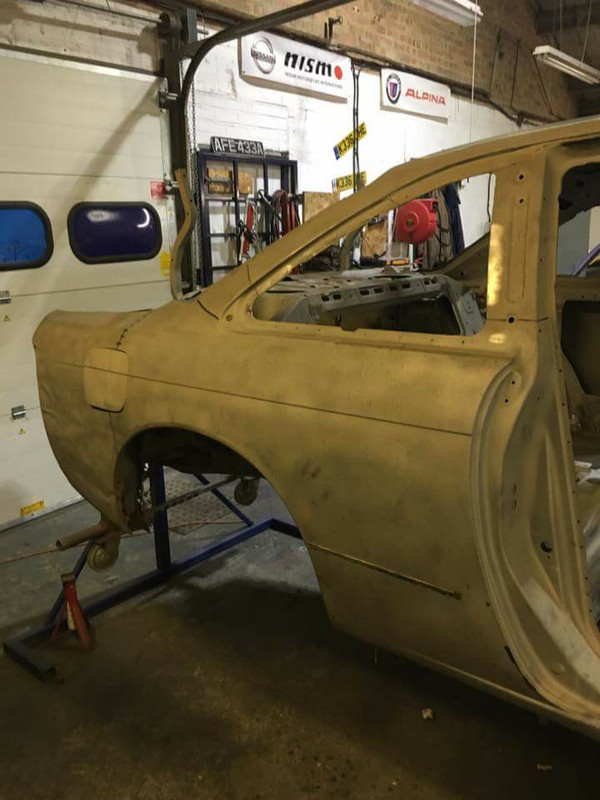
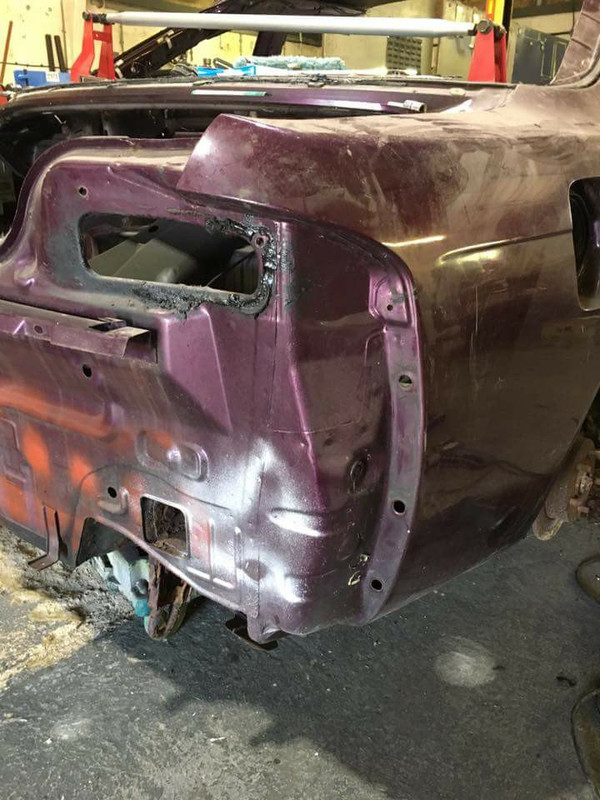
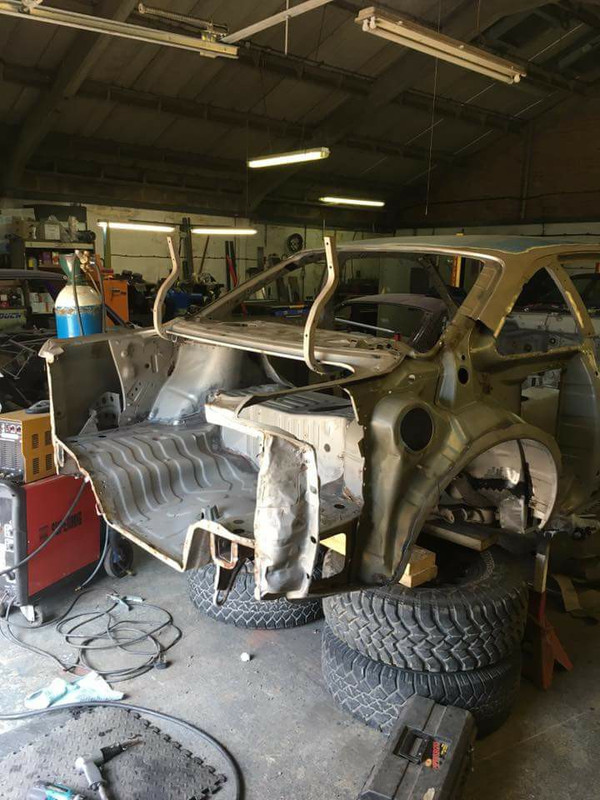
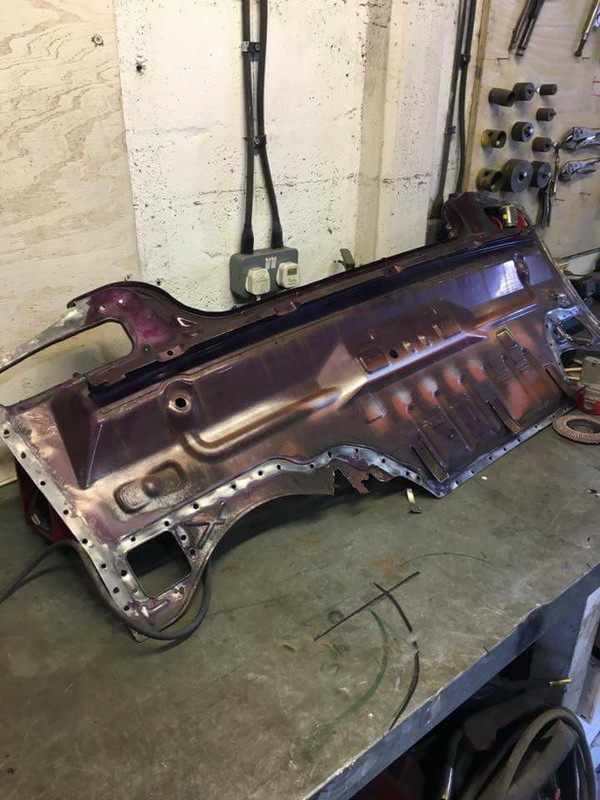
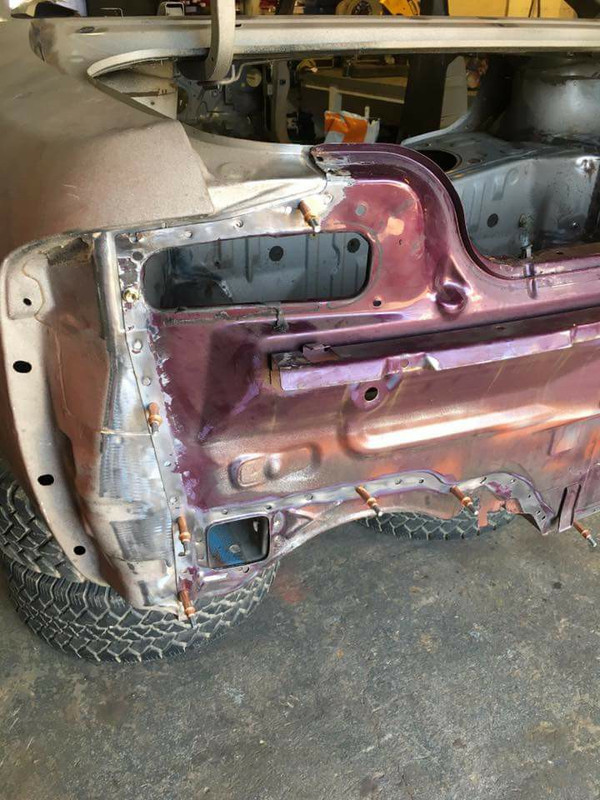
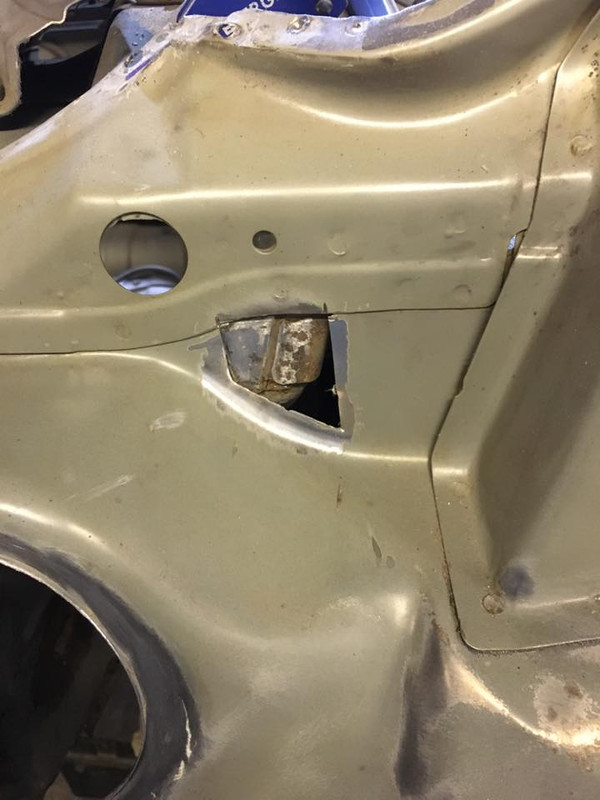
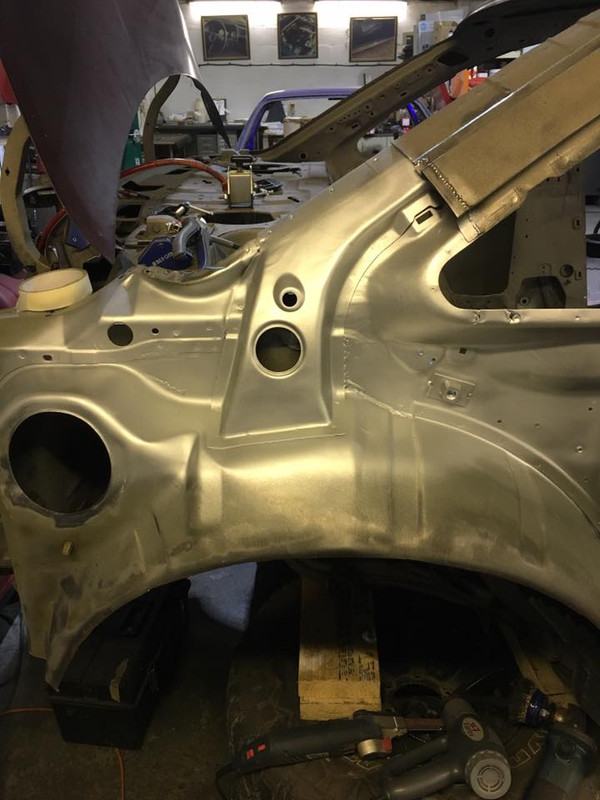
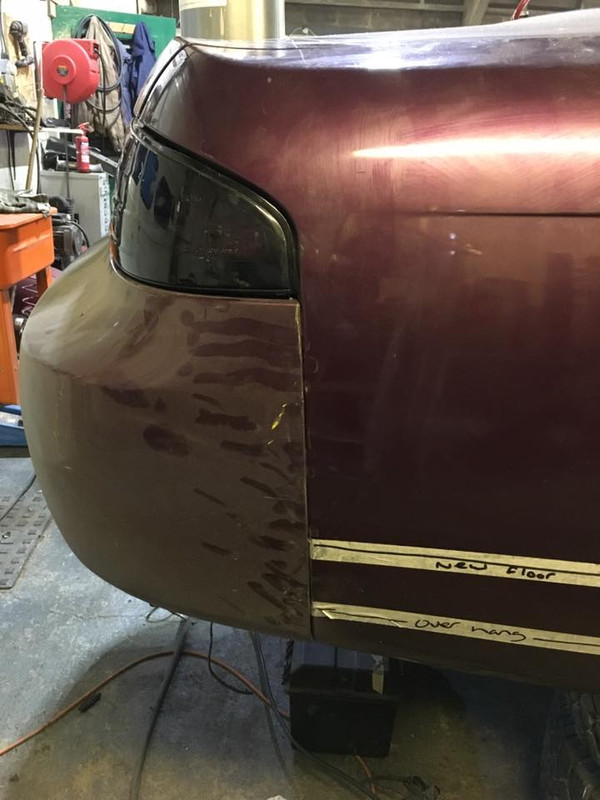
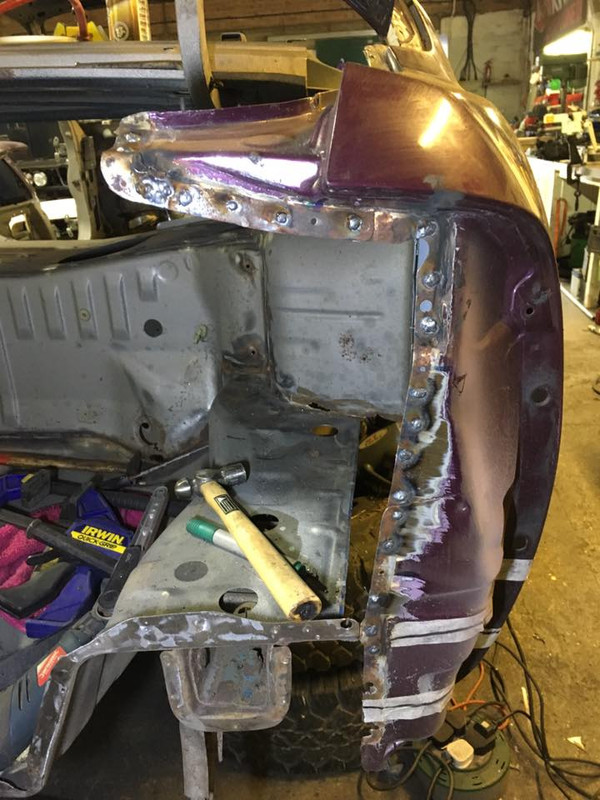
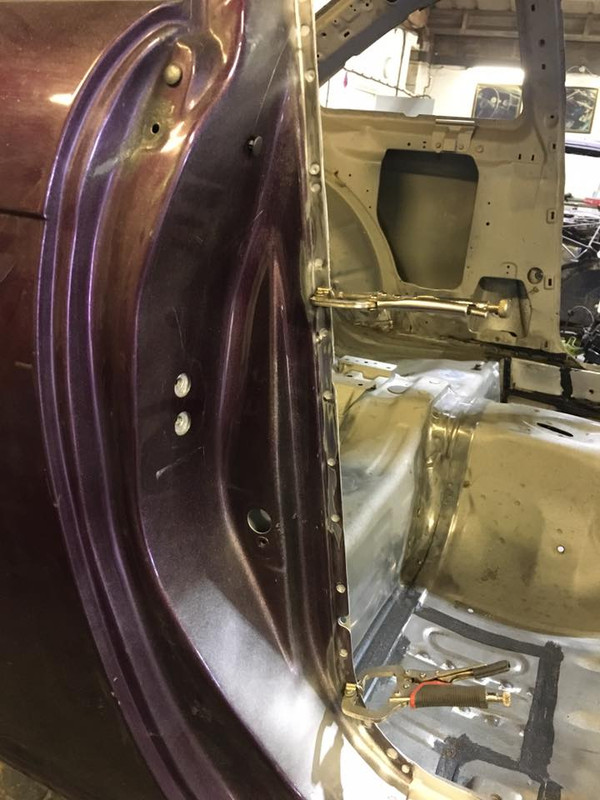
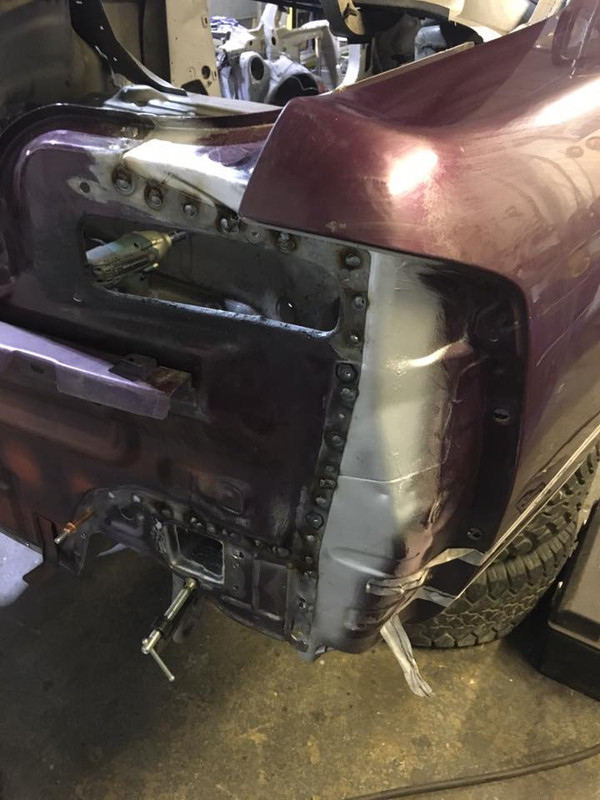
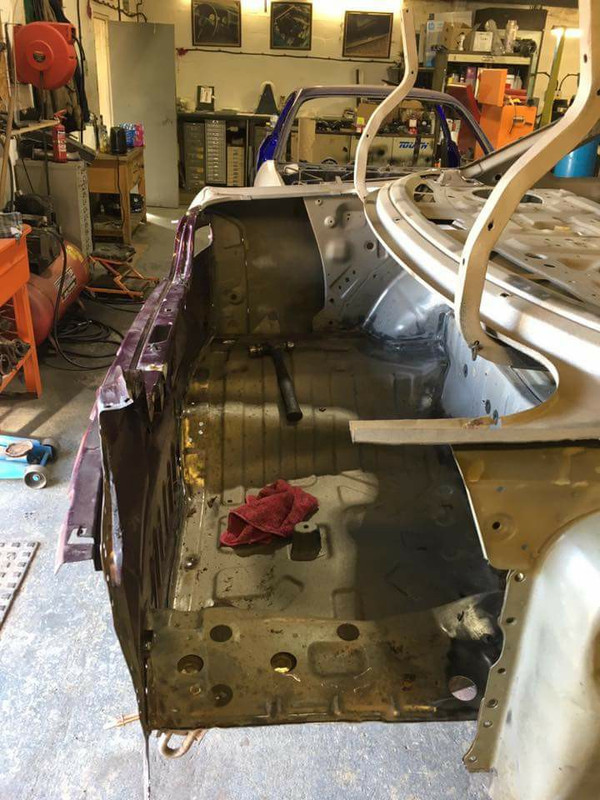
Big job now, tackling the accident damage at the rear!
It's obviously been wrapped around a lamppost (or two..) at some point in its life, and just "fixed" with filler. Pretty bashed up and bent, but repairable!
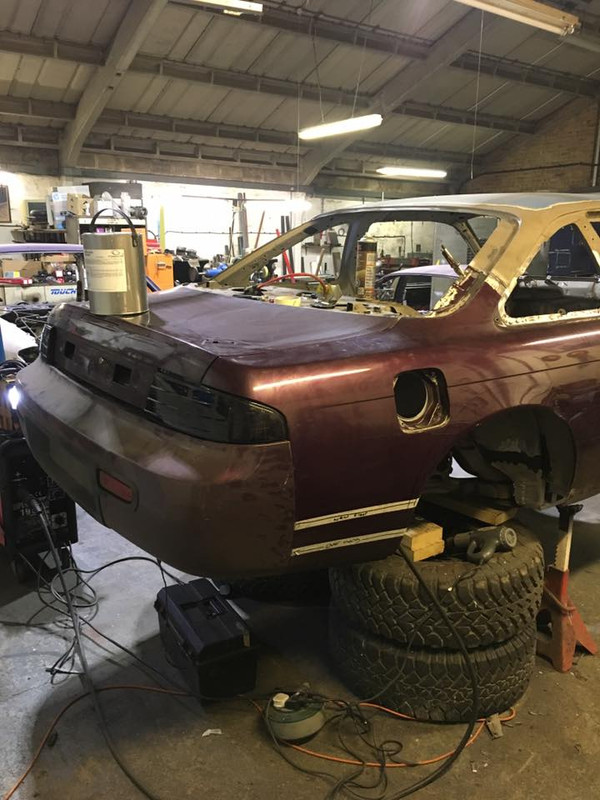
The drivers quarter and the rear panel are being swapped over with the ones from the purple half cut we got from the scrap yard. The boot floor will be going flat, so will be coming out too in due course
(Also a trial fit of a subframe to make sure the front mounts line up)
Last edited by LukeShepp; 16-04-2018 at 17:57.
nice work! and now I get what the donner rear end was for
Woah!
That's a serious amount of work.. wow!
Sent from my SM-G920F using Tapatalk
Man, she's going to be a sweet example of an S14!
Accident damage was quite bad, made more sense to find a scrapped shell for the panels
That's what I'm hoping for!
Interior wise in this, I'll have buckets and harnesses in the front, Steve will be mocking up a removable harness bar.
In 15/20 years time I don't know what will make these worth money. It could be that having standard interior makes them much more valuable than buckets - so I'm keeping all the standard interior and trim, in the hope it can all go back in if that's what it needs to be worth something in the future. For now though, it's a car to enjoy!
Sent from my SM-G930F using Tapatalk
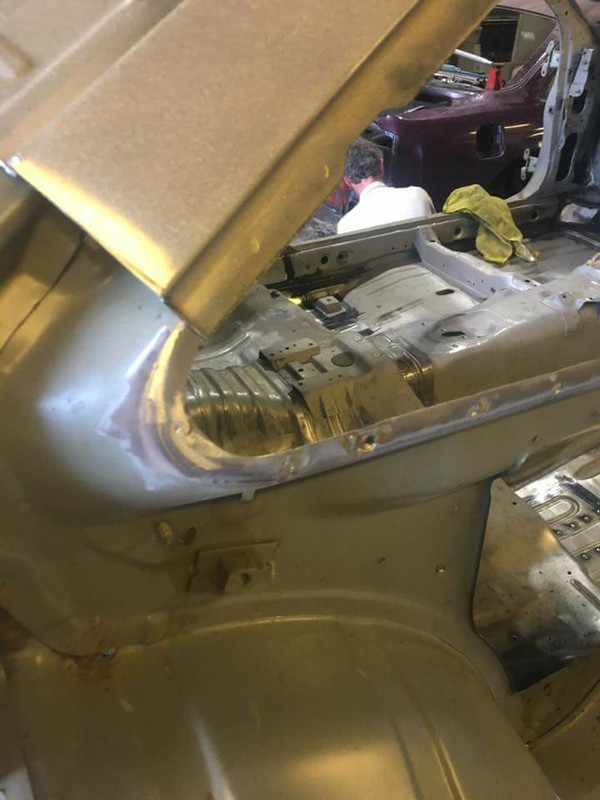
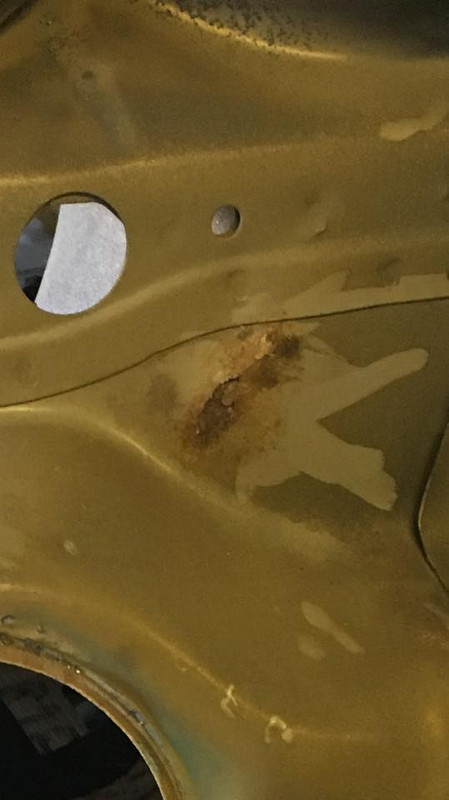
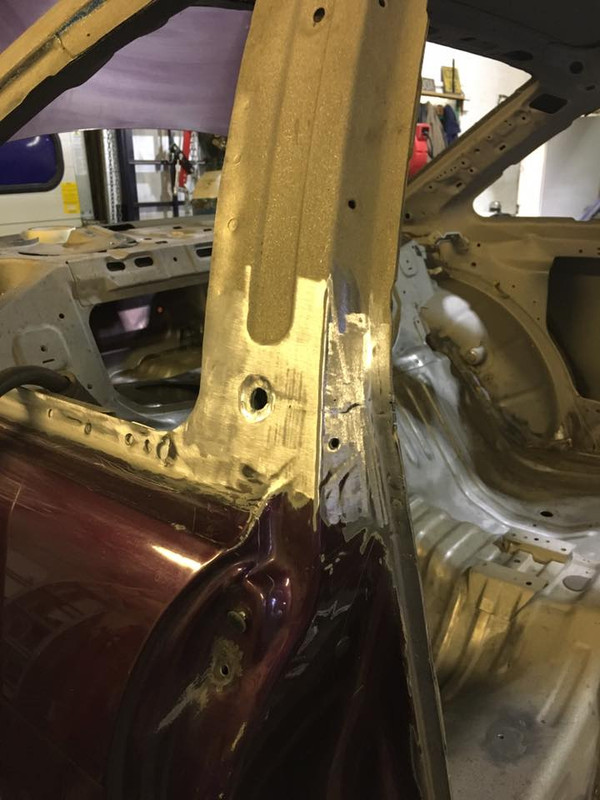
There was 2 rust spots behind the rear quarter that were easier to replace with the quarter off - so these were sorted and then the area to be covered up protected:
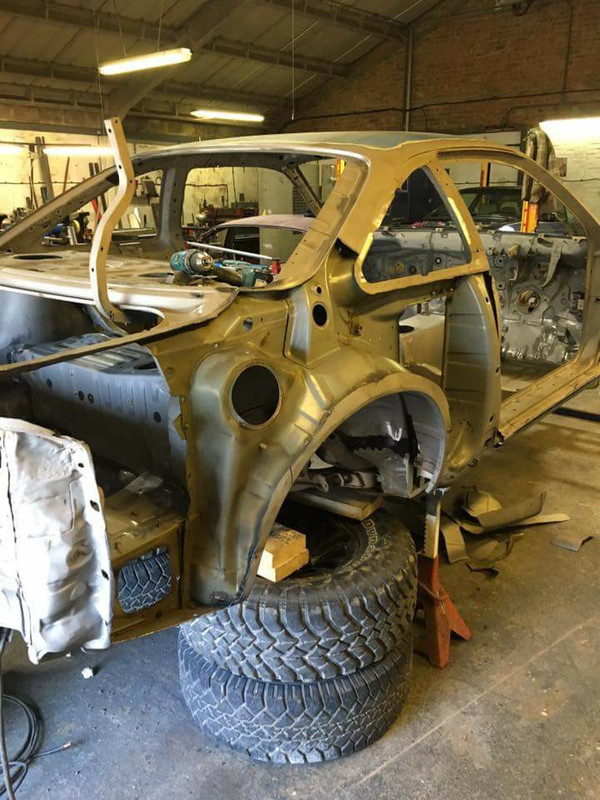
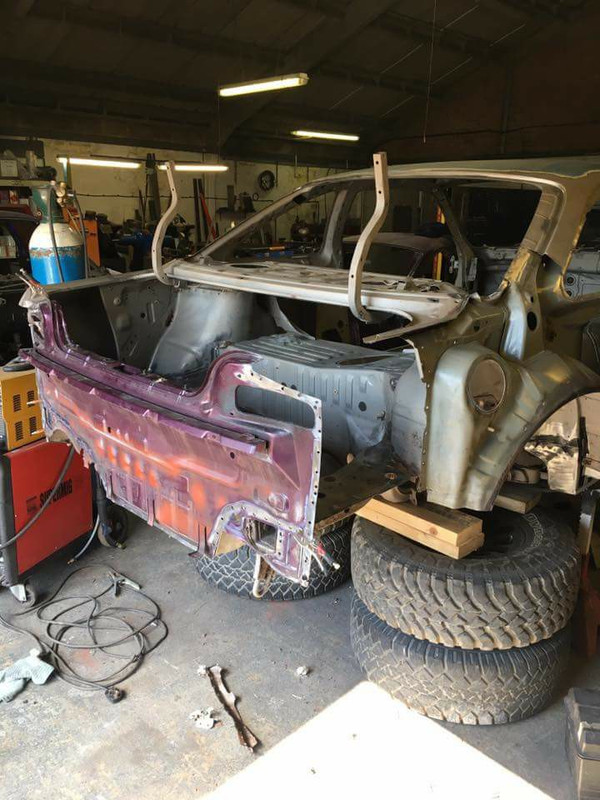
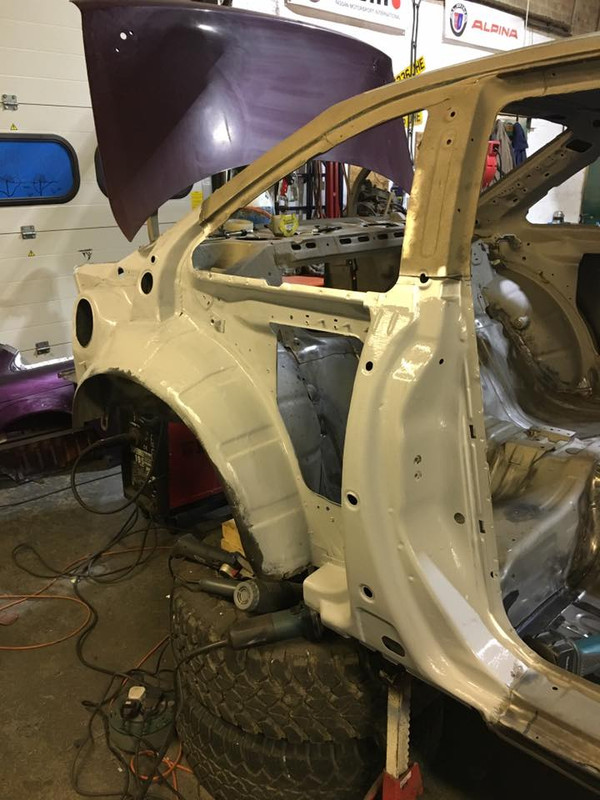
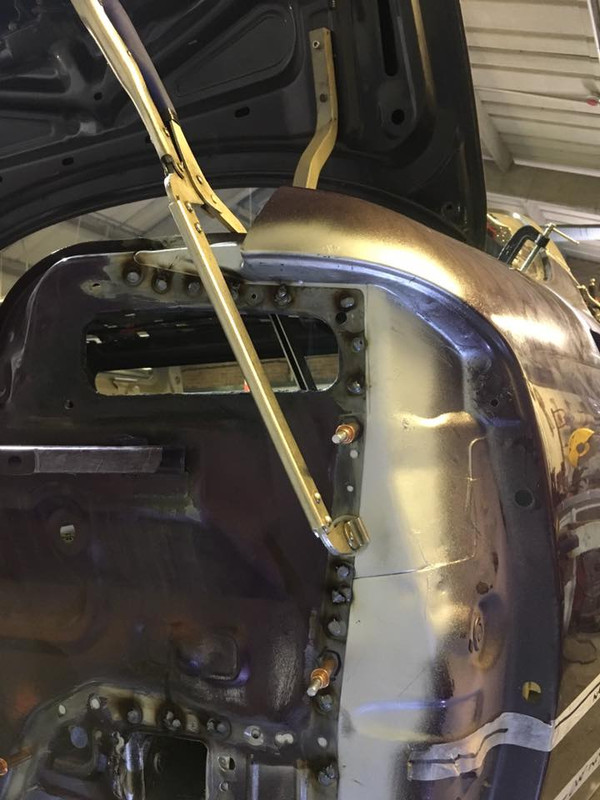
With that done, It was then trying to line up the replacement panels - with the amount that's been cut out, it has took away a lot of the strength from the rear.
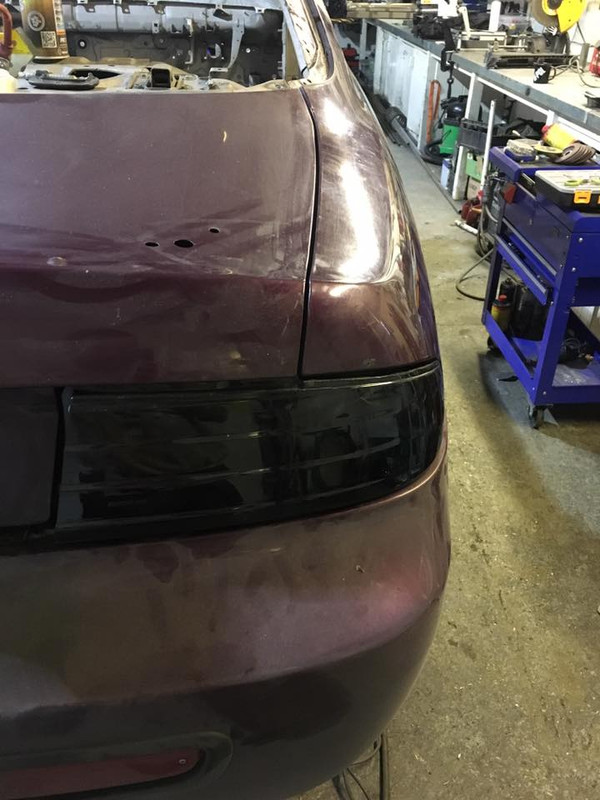
I took down the corner sections of my rear lights for Steve to use getting the gaps on the panels lined up - he used the boot from the donor shell as we know that's straight (looking at how bashed up the quarter was there's no telling if my boot is actually straight!).
And, well, it's beginning to look like a car again..!
Last edited by LukeShepp; 16-04-2018 at 17:57.
The most in depth S14 repair I've seen so far. Workmanship is really good.
 Posting Permissions

 Reply With Quote