Page 6 of 6 FirstFirst ... 456
Results 101 to 112 of 112

Thread: My first attempt at jdm: Back from the dead 1998 s14a

  1. #101
    Guest
    Join Date
    May 2016
    Location
    Norway
    Posts
    95
    Rides
    0
    Ssr senterrings


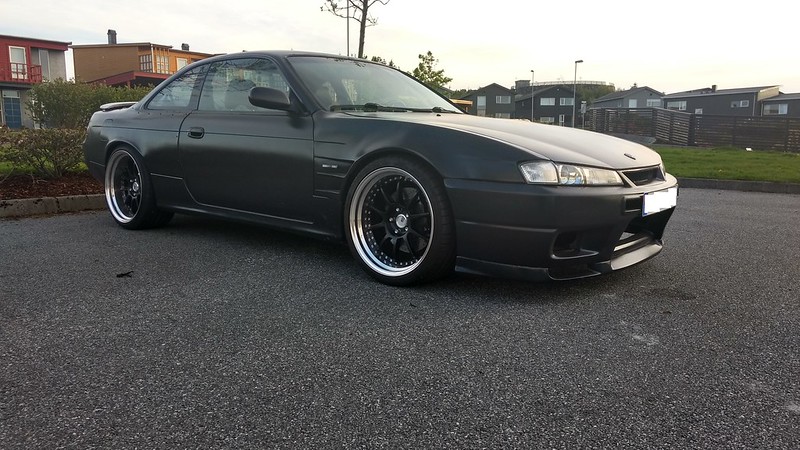
    With the new fenders and senterrings it was FINALLY time for the ssr professor 3 wheels


    265/30 r19 tires front and back 9.5x19 et 10 front and 10.5x19 et 18 rear.
    Transformes the whole car

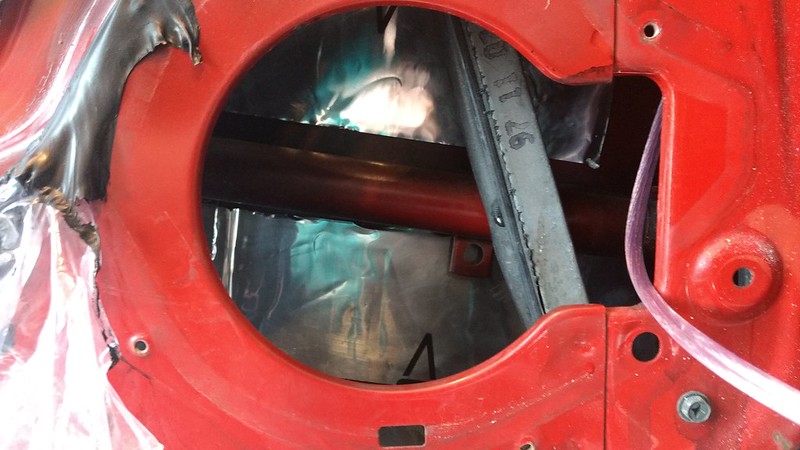
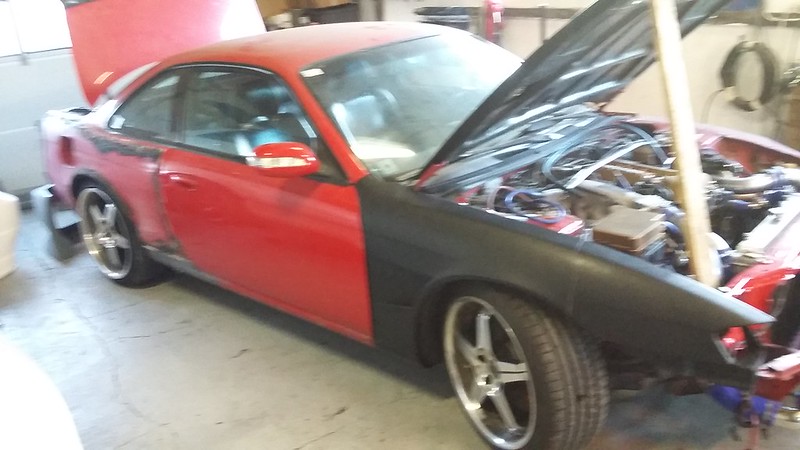
    Had to do some big time clearing in the front to have room for the 265 tires


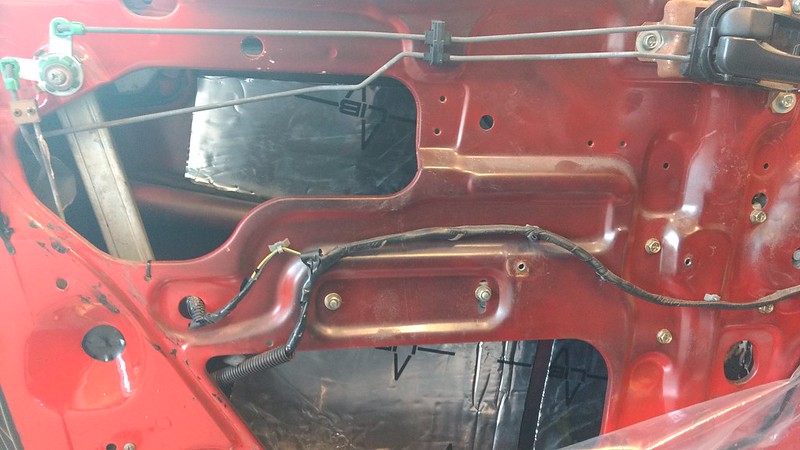
    Trimming the rear over fenders


  2. #102
    Guest
    Join Date
    May 2016
    Location
    Norway
    Posts
    95
    Rides
    0
    Then i got another big package


    I was never quite happy with the front bumper that cane with the car.

    So here is my new front bumper, really cheap r33 gtr look alike


  3. #103
    Guest
    Join Date
    May 2016
    Location
    Norway
    Posts
    95
    Rides
    0
    The first problem with the new bumper was the lack of blinkers.

    Testing


    New socket and connector for the parkinglight


    Mounted


    Finished.


    This is a led bulb which has yellow 21w blinker and 5w white park light in one bulb.

  4. #104
    Guest
    Join Date
    May 2016
    Location
    Norway
    Posts
    95
    Rides
    0
    Then it was time for some color.

    Just to make it as easy and cheap as possible i opted for plastidip.

    Started with spray cans in all the hard to reach/tight places.


    Mixing the mat black plastidip.


    After a few coats of mat black.


    Then i applied two coats clear for a semi gloss finish.


    Finished result.


  5. #105
    Guest
    Join Date
    May 2016
    Location
    Norway
    Posts
    95
    Rides
    0
    Time for a new update.

    On a car meet excatly 12 hours after the last coat.


    Its getting there...


  6. #106
    Guest
    Join Date
    May 2016
    Location
    Norway
    Posts
    95
    Rides
    0
    There was a really annoying knocking noise from the rear. So i ordered new whiteline poly bushes for the diff.


    The old front bushing, bottom part.


    Really easy to remove.


    Old bushes


    New bushes for the front.


    And the rear


    New front bushings in


    First rear bushing removed


    Old worn bushing


    Both bushings out


    Here you can see how i supported the diff while i changed the bushings, the only other thing i took off was the center driveshaft


    New rear bushings in


    And the complete front bushings


    Had to adjust the handbrake cable holders by the driveshaft, they were touching.
    (because of the offset crossmember bushings)

    There is still some knocking noise because the kaaz 2 way diff, but it is way better then before.

  7. #107
    Guest
    Join Date
    May 2016
    Location
    Norway
    Posts
    95
    Rides
    0
    [url]

  8. #108
    Guest
    Join Date
    May 2016
    Location
    Norway
    Posts
    95
    Rides
    0
    Well... photobucket...

    So to make a long story short.

    The start:

    20160420_195751 by argr asgsdg, on Flickr

    The current condition:

    IMG_20170521_203034482_HDR by argr asgsdg, on Flickr

  9. #109
    Guest Brookie's Avatar
    Join Date
    Jan 2008
    Location
    Huddersfield
    Posts
    509
    Rides
    0
    Looking good mate you've got to be pleased with that!

  10. #110
    Guest
    Join Date
    May 2016
    Location
    Norway
    Posts
    95
    Rides
    0
    Quote Originally Posted by Brookie View Post
    Looking good mate you've got to be pleased with that!
    It is a good stage 1, but there is always room for improvement

  11. #111
    Guest
    Join Date
    May 2016
    Location
    Norway
    Posts
    95
    Rides
    0
    Since this is my daily driver i decided to go for more comfort.

    Step 1 was sound isolation.

    IMG_20170708_173824988 by argr asgsdg, on Flickr

    Moved the battery from the middle of the boot to the right side.

    IMG_20170708_173806027 by argr asgsdg, on Flickr

    So i could fit a hifonics 2x8" sub box.

    IMG_20170708_173800062 by argr asgsdg, on Flickr

    Removed the door covers.

    IMG_20170718_164110267 by argr asgsdg, on Flickr

    Sound deadning

    IMG_20170718_170507306 by argr asgsdg, on Flickr

    IMG_20170718_170511456 by argr asgsdg, on Flickr

    Then it was time for some high quality glue.

    IMG_20170718_171532180 by argr asgsdg, on Flickr

    The front track on the window had broken off the bracket.

    IMG_20170718_171539895 by argr asgsdg, on Flickr

    Nothing that could not be fixed with a bit of glue.

  12. #112
    Guest
    Join Date
    May 2016
    Location
    Norway
    Posts
    95
    Rides
    0
    Just a little teaser until next time...

    IMG_20170704_184146958 by argr asgsdg, on Flickr

Posting Permissions

  • You may not post new threads
  • You may not post replies
  • You may not post attachments
  • You may not edit your posts
  •